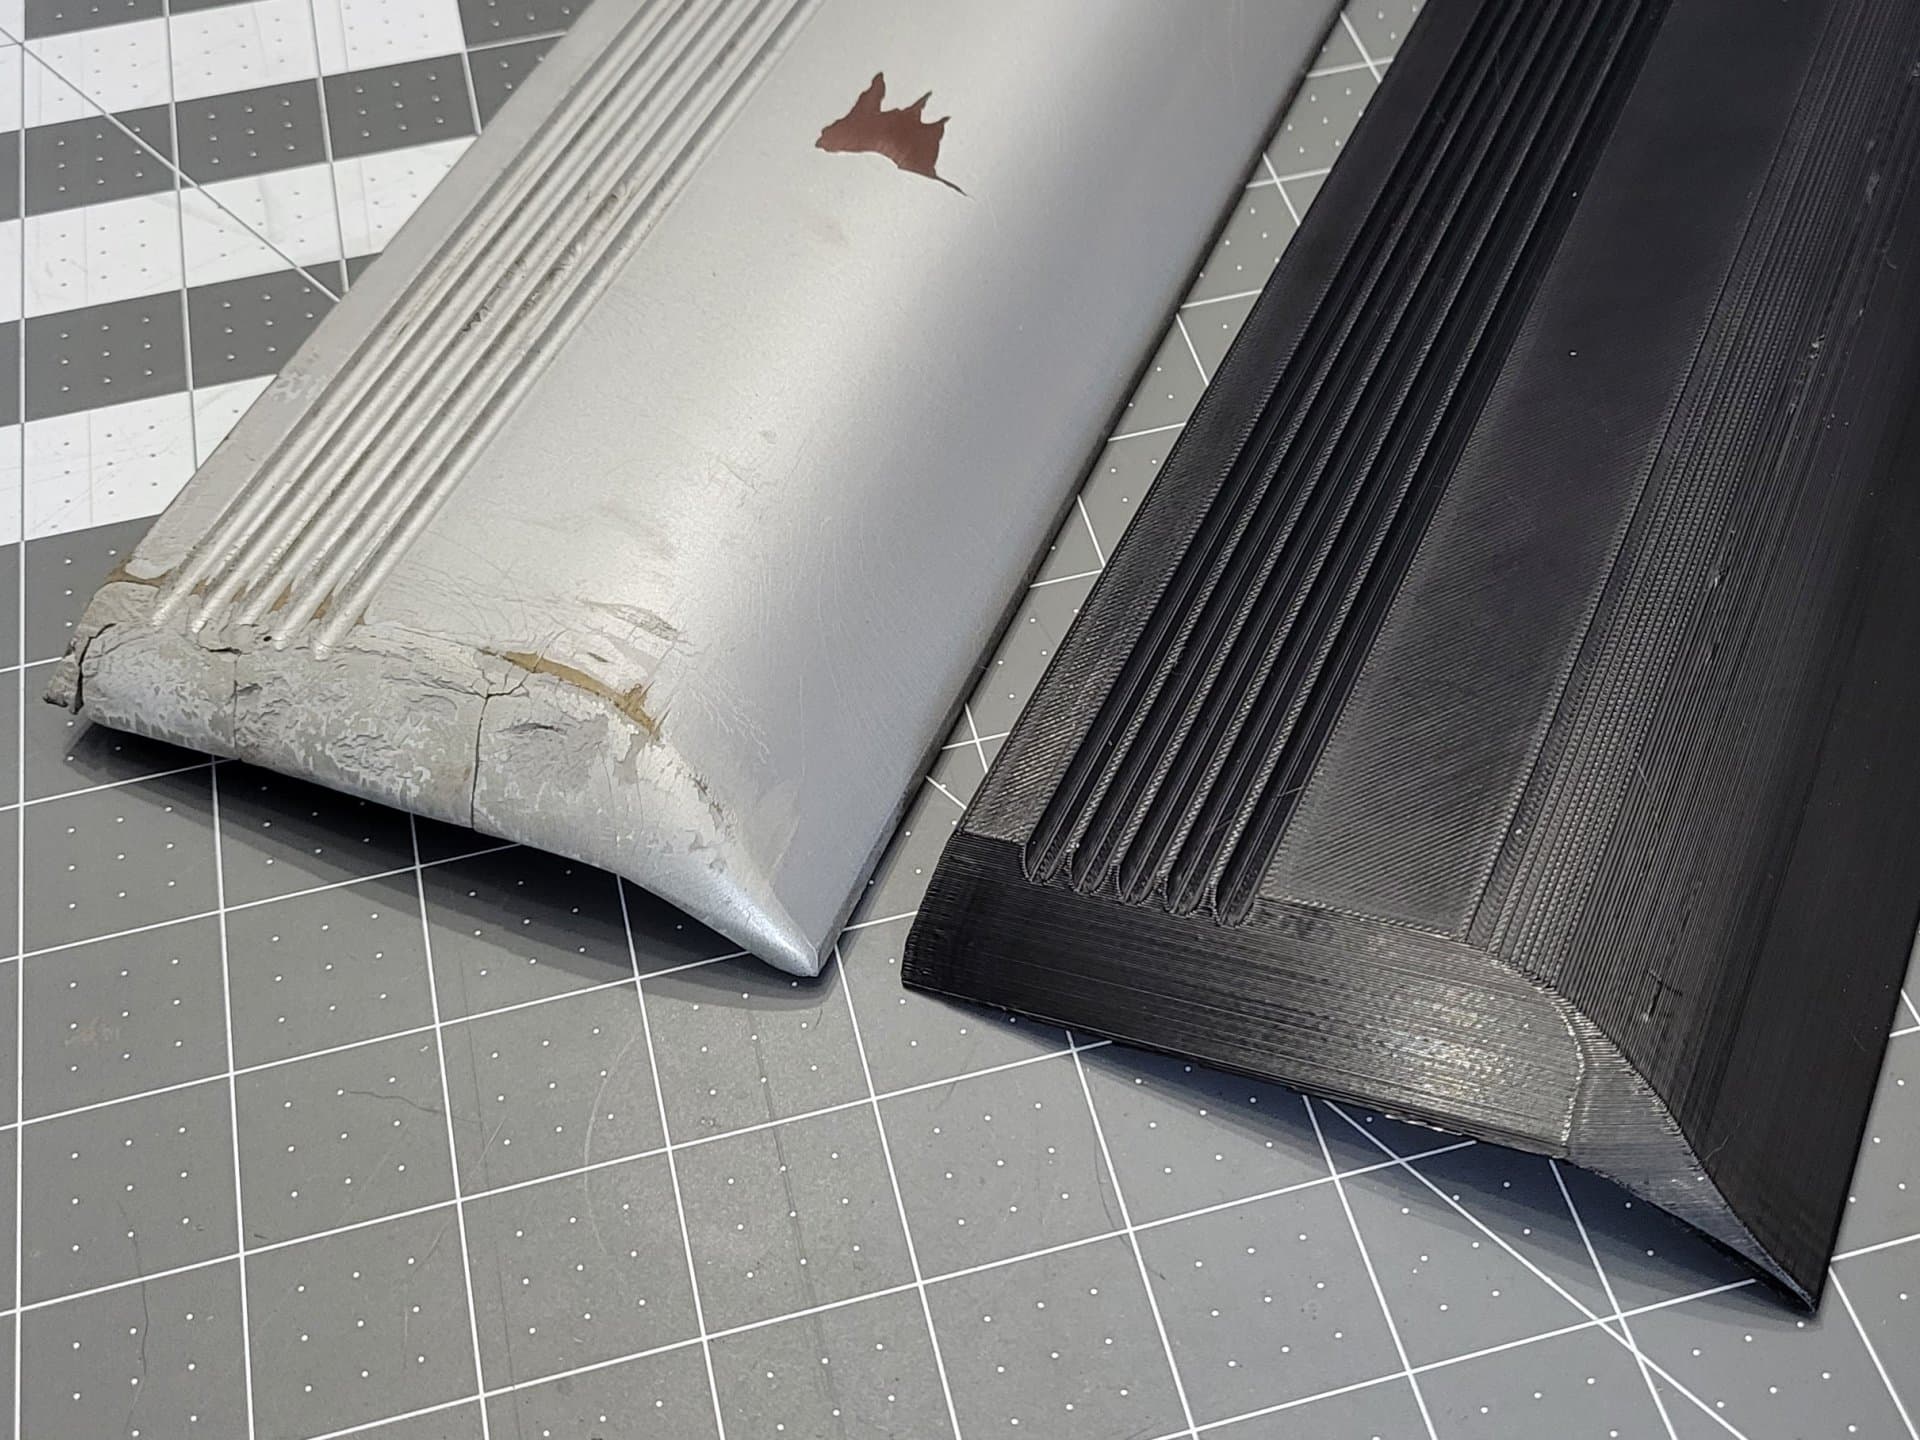
Rear Impact Strip for 1990-1992 Cadillac Brougham Funeral Coach Hearse
License & use
Files stay with the original publisher; this catalog entry does not grant hosting or resale rights. License status does not verify vehicle fitment, OEM rights, design patents, or safety.
Shared by
Derrick Aquino (vampyrex13)Description
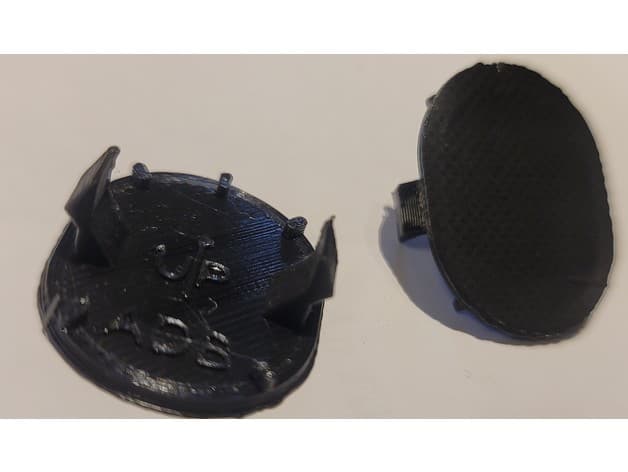
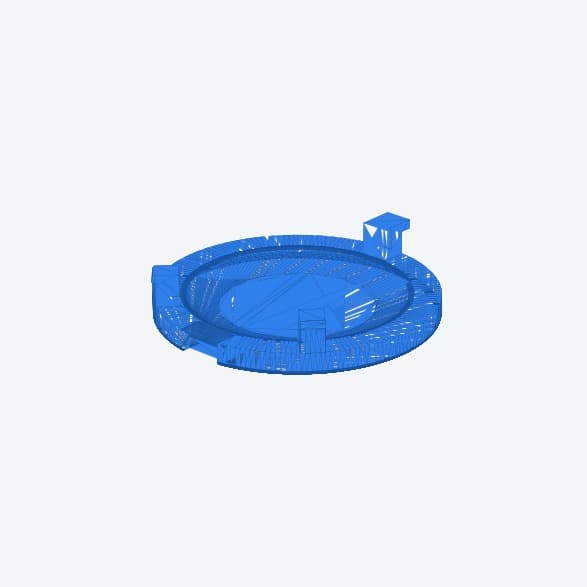
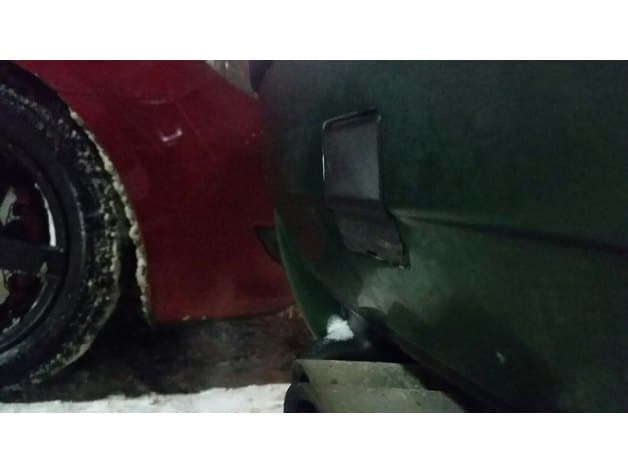
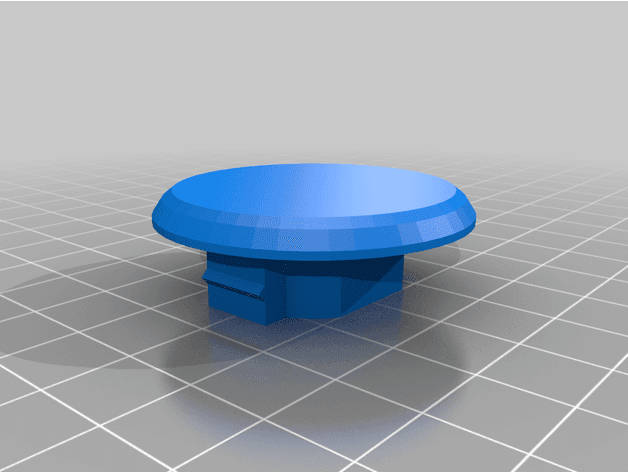
I couldn't find rear impact strips for my 1992 Cadillac Brougham hearse as they are a split pieces due to the license plate relocated in the middle of the bumper. The solution was to design a 3D printed replacement. Printing Notes -------------- • This is a large piece and it will need to be split in two, if not three pieces. • This model is for the right side. Simply mirror it for the left side. Preparation Notes ----------------- • You can attach the parts using 2 part epoxy. • Use plastic Bondo filler in the gaps. • Use 100 grit sandpaper to smooth away any later lines, then work your way up. I only had to go up to 600 grit. • Use a primer rated for plastic. Once that's dry give it a light sanding with 1000 grit sandpaper then apply your paint. For mine, I used Duplicolor Perfect Match GM fine silver birch metallic. Don't forget to clear coat it afterwards. • I used 3M reflective tape in place of the reflector. Whatever you end up using, make sure it doesn't fade in the sun over time. Installation Notes ----------------------- • Install along the top and bottom edges using 3M VHB mounting tape. • Use a heat gun on the left and right ends to help conform them to the bumper shape if it doesn't sit perfectly flush. Buy Me a Coffee? ---------------- Do you like my work? You can buy me a coffee at https://ko-fi.com/vampyrex13.
Compatible Vehicles
Originally published on thingiverse.com by Derrick Aquino (vampyrex13) · License: CC BY-NC
Browse categories
Browse other part families
Jump to interior, exterior, accessories, dashboard, mechanical, or tools hubs when you need a different kind of replacement part.
Share whether this print actually fits a real car. Installed photos and material notes make the catalog more trustworthy.
Ask the community about this part
Start a fitment, printing, or design discussion with this part already attached.
Related Parts
Most specific car + model + year + category matches first, with popular parts mixed in.