2015+ WRX AP Mount - BEEF
License & use
Files stay with the original publisher; this catalog entry does not grant hosting or resale rights. License status does not verify vehicle fitment, OEM rights, design patents, or safety.
Shared by
Jason Jones (jasonjones)Description
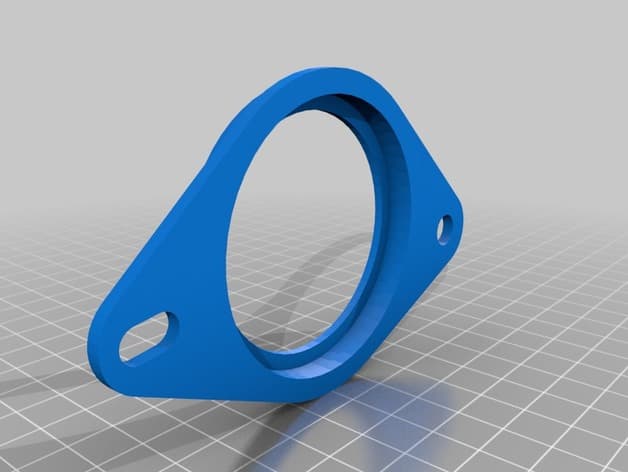
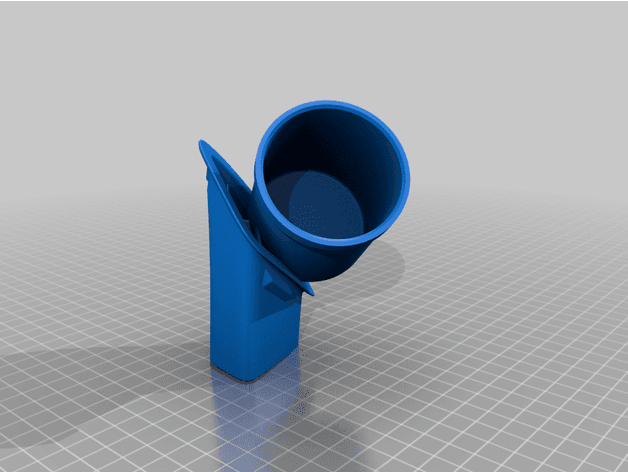
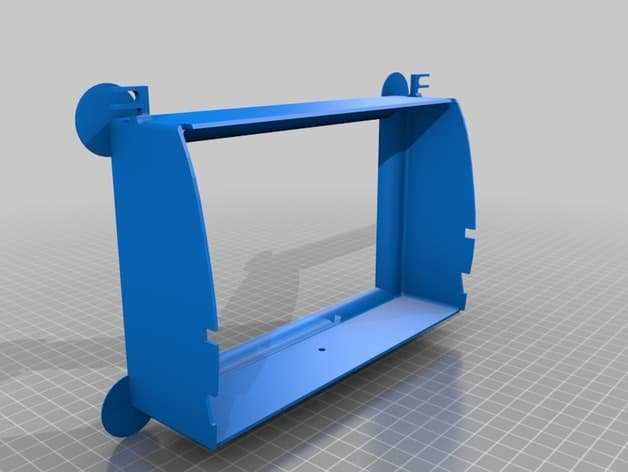
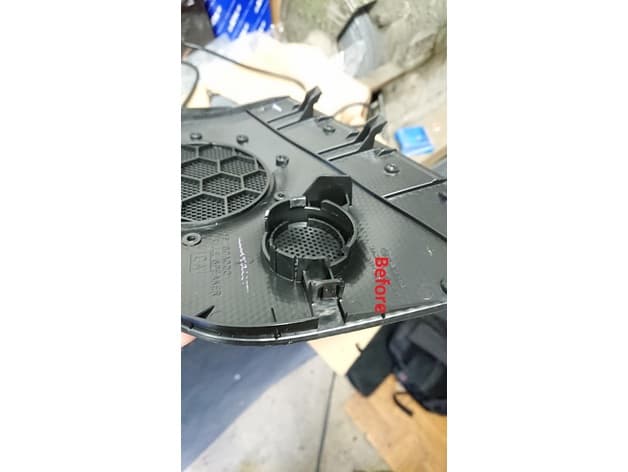
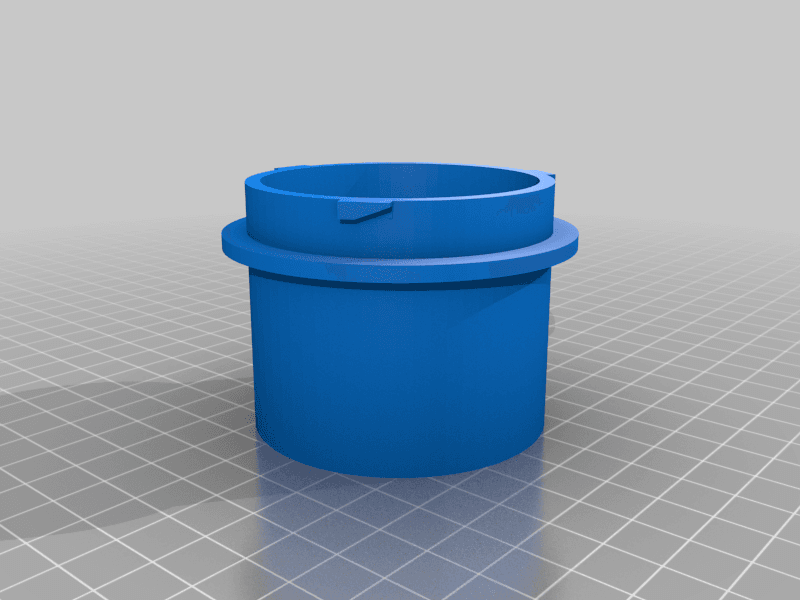
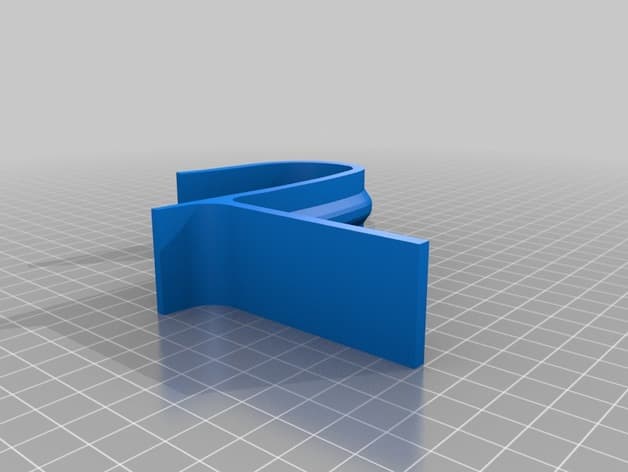
Not really a remix as I didn't use any of the original model itself, just used the thing for inspiration for my own version. Modeled from the ground up to be more robust. This one is Beefier, less shake when on the road, doesn't require the use of the flimsy stock mount that was included and just seems to sag and not hold the AP very well at all. This one is a Fixed angle, but it is optimized to reduce the glare from your clothing when viewing the AP in sunlight, and stay below the hood line and out of the line of sight for traffic. Also clears your driverside vent so the AP is not getting blasted or blocking your air. Cord routes to the left side of the steering column. Removed the whole bolt and nut bit replaced with using 3M double sided tape. You can get away without using tape at all and just glue some 2mm foam or cork to the inside of the clamp if you like. The clamp holds very good without tape. Main clamp prints without any supports needed, all angles should overhang without any problems. The angled mount needs support for the tabs, but are minimal and should be easy to remove. The angled mount part is designed to replace the stock mount that wiggled and didn't hold the AP well at all. This one should fit very snug and keep everything nice and tight. (you may need to file the underside of the tabs slightly if your printer prints a little fat.) Once you have them both printed and cleaned up, test fit the clamp, get it where it sits nicely on the dash, and then test-fit the angle on the end of the at with the AP3 holder mounted to it. Get it where you like and mark. Use acetone to weld the 2 parts together where you marked. The part should end up as a very solid piece once its acetone welded. (this is if you're using ABS) Don't use PLA, it will just sag and fail in the heat of a dashboard. ABS worked great for me and is holding up to Arizona temps 100f+ (much hotter on the dash in the sun) 2 versions of the angle, hollow and solid.
Compatible Vehicles
Originally published on thingiverse.com by Jason Jones (jasonjones) · License: CC BY-NC
Browse categories
Browse other part families
Jump to interior, exterior, accessories, dashboard, mechanical, or tools hubs when you need a different kind of replacement part.
Share whether this print actually fits a real car. Installed photos and material notes make the catalog more trustworthy.
Ask the community about this part
Start a fitment, printing, or design discussion with this part already attached.
Related Parts
Most specific car + model + year + category matches first, with popular parts mixed in.