

Files (2)
Slice the required model files; source file size is not printable volume.
Use the slicer's filament total; STL/3MF byte size is not a cost input.
Slice with the recommended material, infill, orientation, and supports.
| STL file | Role | Source size | PETG / ASA 20% | PETG / ASA 25% | 100% solid | Recommendation |
|---|---|---|---|---|---|---|
| TundraFrontPlateBacker.stl | Accessory piece | 11.4 KB STL | Slice file | Slice file | Slice file | Small functional file: print slowly; consider 80–100% infill for durability. |
| TundraFrontPlateBracket.stl | Mount / bracket | 29.3 KB STL | Slice file | Slice file | Slice file | Ensure proper fit and orientation in the slicer before printing |
Saved setup guidance is used for material, infill, support, and per-file recommendation text; editable numbers are planning estimates only.
2022+ Toyota Tundra no-drill front license plate bracket

Shared by
3DPrintedCarPartDescription
I recently got a 2023 Toyota Tundra and discovered that the provided front license plate bracket needed to be screwed directly into the bumper. Just no. So, I designed this no-drill alternative which fits into the lower grille slit. Print both parts, insert 10-24 nylon lock nuts into the premade sockets. They should press in fairly snugly but add a drop of glue to secure them. Before installing, run the screws in and out once to clean out any wayward glue. Slide the backer piece into a slit in the lower grille and work it around so that it faces forward. Use the wire bundles to help keep it from falling as you work it into position. Take two 10-24 x 2" screws and fasten the main bracket to the backer. Then take two 10-24 x 1" screws and fasten the plate (with or without a frame) to the main bracket. Before you start the installation, you can glue on a piece of foam, rubber, cloth or whatever to the back of the main mount where it will contact the bumper to protect it. My original bracket used a piece of thin foam packing material as in the photo. My final bracket used a piece of adhesive backed silicone rubber I got from Amazon: https://www.amazon.com/dp/B07GL9MHW7?psc=1&ref=ppx_yo2ov_dt_b_product_details Best to use stainless steel hardware to keep the parts from rusting. M5 hardware might also fit but I didn't test it.
Compatible Cars
Originally published on thingiverse.com by Raymond Lopiccolo (raylo32) · License: CC BY
Share whether this print actually fits a real car. Installed photos and material notes make the catalog more trustworthy.
Related Parts
Most specific car + model + year + category matches first, with popular parts mixed in.

Toyota Corolla 2021 (Station) Bumper Cap
License: CC BY
View & download STL files
Toyota Tacoma TRD Frame Plug
License: CC BY
View & download STL files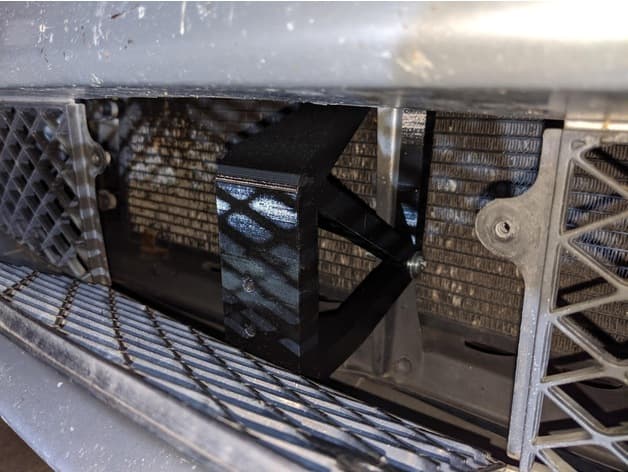
MR2 Spyder no-drill license plate holder
License: CC BY
View & download STL files
Prius II bumper cap
Toyota
License: CC BY-NC
View STL source
Tacoma Front camera bracket
License: CC BY
View & download STL files
BMW X5 E70 Center Console Blind Plate
BMW
License: CC BY
View & download STL files
