
Files (4)
Choose the needed variant and slice it; source file size is not printable volume.
Use the slicer's filament total; STL/3MF byte size is not a cost input.
Slice with the recommended material, infill, orientation, and supports.
| STL file | Role | Source size | PETG 20% | PETG 25% | 100% solid | Recommendation |
|---|---|---|---|---|---|---|
| HoleJigV3.stl | Printable file | 37.0 KB STL | Slice file | Slice file | Slice file | Print the Hole Jig in PLA as it's for a jig and not exposed to heat |
| Knob_v2.stl | Printable file | 314.9 KB STL | Slice file | Slice file | Slice file | Print the Hole Jig in PLA as it's for a jig and not exposed to heat |
| Latch_v3.stl | Printable file | 205.6 KB STL | Slice file | Slice file | Slice file | Print the Hole Jig in PLA as it's for a jig and not exposed to heat |
| TacomaBedDoorv5.stl | Printable file | 390.3 KB STL | Slice file | Slice file | Slice file | Print the Hole Jig in PLA as it's for a jig and not exposed to heat |
Saved setup guidance is used for material, infill, support, and per-file recommendation text; editable numbers are planning estimates only.
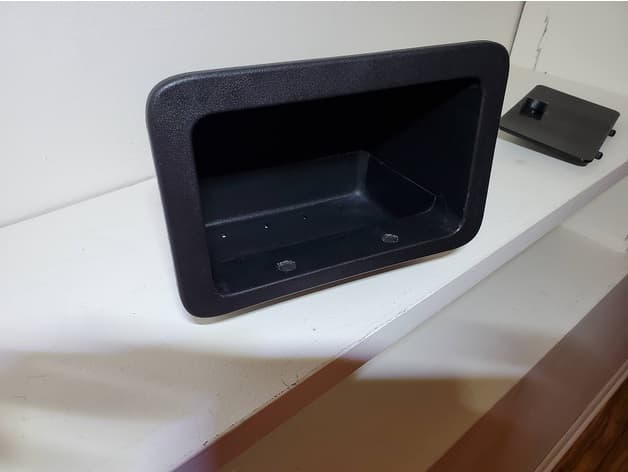
Bed Pocket Door for Tacoma

Shared by
3DPrintedCarPartDescription
Instructions: Step 1:Print out the latest version of the Hole Jig.stl in PLA plastic. You might want to print 2 of these, since they might get damaged in step 2. Step 2: Use the jig to cut out the 2 holes (bottom) and 1 slot (top) of the bed pocket. I suggest using a dremel. Step 3: Then print out Version 5 of the door WITH SUPPORTS in PETG plastic Print out the latch in PETG Print out the Knob in PETG Step 4: Get a no. 8 machine screw. The threaded portion needs to be around 35mm long; can always cut it shorter. Cut the head of the screw off, super glue it into the knob you just printed. Step 5:Next, dremel a flat side in the machine screw, turing it from a round shaft to a D shaped shaft. The flat side should face UP when the latch is "closed". You'll have to dremel the screw little by little, testing to see if it fits into the latch. This is just so that the knob orientation lines up with the other doors in the bed of the truck. The latch piece has a flatside in the inner diamater. Step 6: Then get the spring out of a Pilot G2 pen and an Airsoft BB. Load the spring and the BB into the latch mechanism. The Door piece has a track and detents for the ball. Step 7: Assemble the door, latch and knob. Put some loctite on the threads to hold the nut in place. NOTE: May need to trim the holes in the pocket to fit just right.
Compatible Cars
Originally published on thingiverse.com by Kyle Burrell (kylesburrell) · License: CC BY
Share whether this print actually fits a real car. Installed photos and material notes make the catalog more trustworthy.
Related Parts
Most specific car + model + year + category matches first, with popular parts mixed in.

Toyota Tacoma Seat Belt Silencer
Toyota Tacoma
License: CC BY
View & download STL files
Toyota Tacoma Coin Drawer
Toyota Tacoma
License: CC BY
View & download STL files
Toyota Tacoma Radio Mount CB or FTM-400XDR
License: CC BY
View & download STL files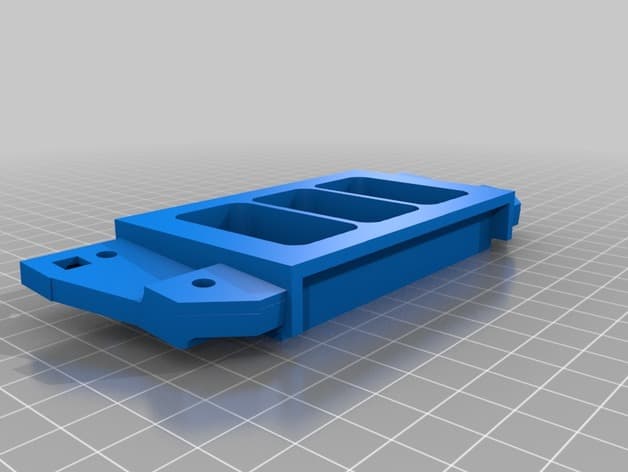
Tacoma Driver Cubby Triple Switch
License: CC BY-NC
View STL source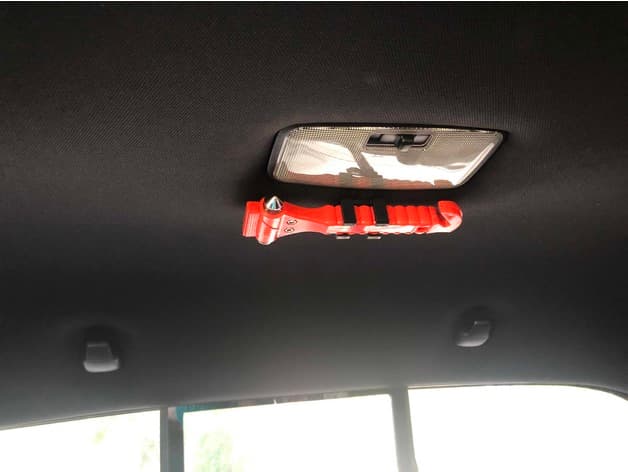
Window Glass Hammer Headliner Hanger
License: CC BY
View & download STL files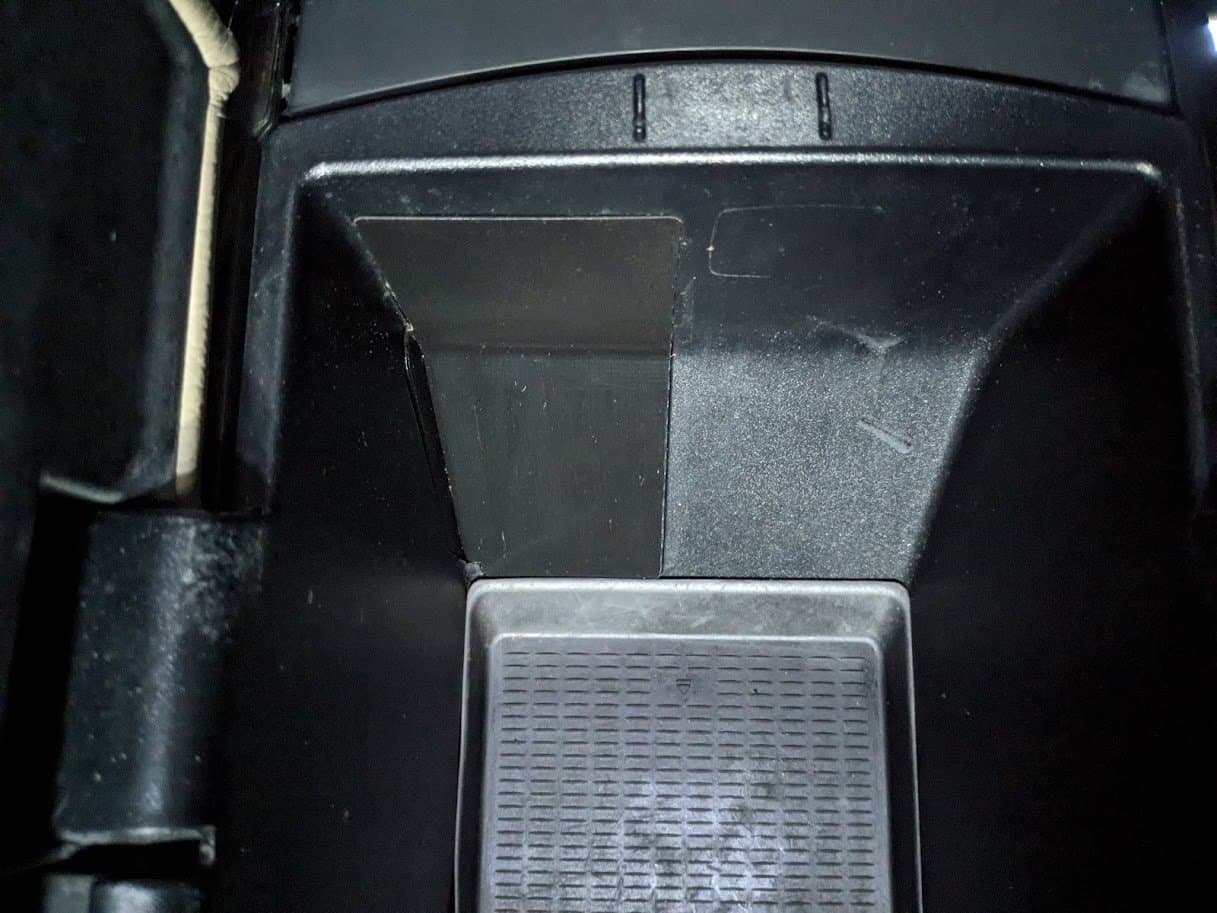
BMW X5 E70 Center Console Blind Plate
BMW
License: CC BY
View & download STL files
