
Files (1)
Based on 25% main infill across listed model files
Filament only at roughly $24/kg PETG / ASA
Uses 70 mm/s, 0.2 mm layers; verify supports in slicer
| STL file | Role | Source size | PETG / ASA 20% | PETG / ASA 25% | 100% solid | Recommendation |
|---|---|---|---|---|---|---|
| Cruze_Dash_Hinge.stl | Primary model | 332.5 KB STL | 46g $1.10 | 50g $1.20 | 110g $2.63 | Ensure proper orientation for minimal supports |
Saved setup guidance is used for material, infill, support, and per-file recommendation text; editable numbers are planning estimates only.
Chevy Cruze Dash Storage Latch Hinge Bracket
Shared by
Michael ChenDescription
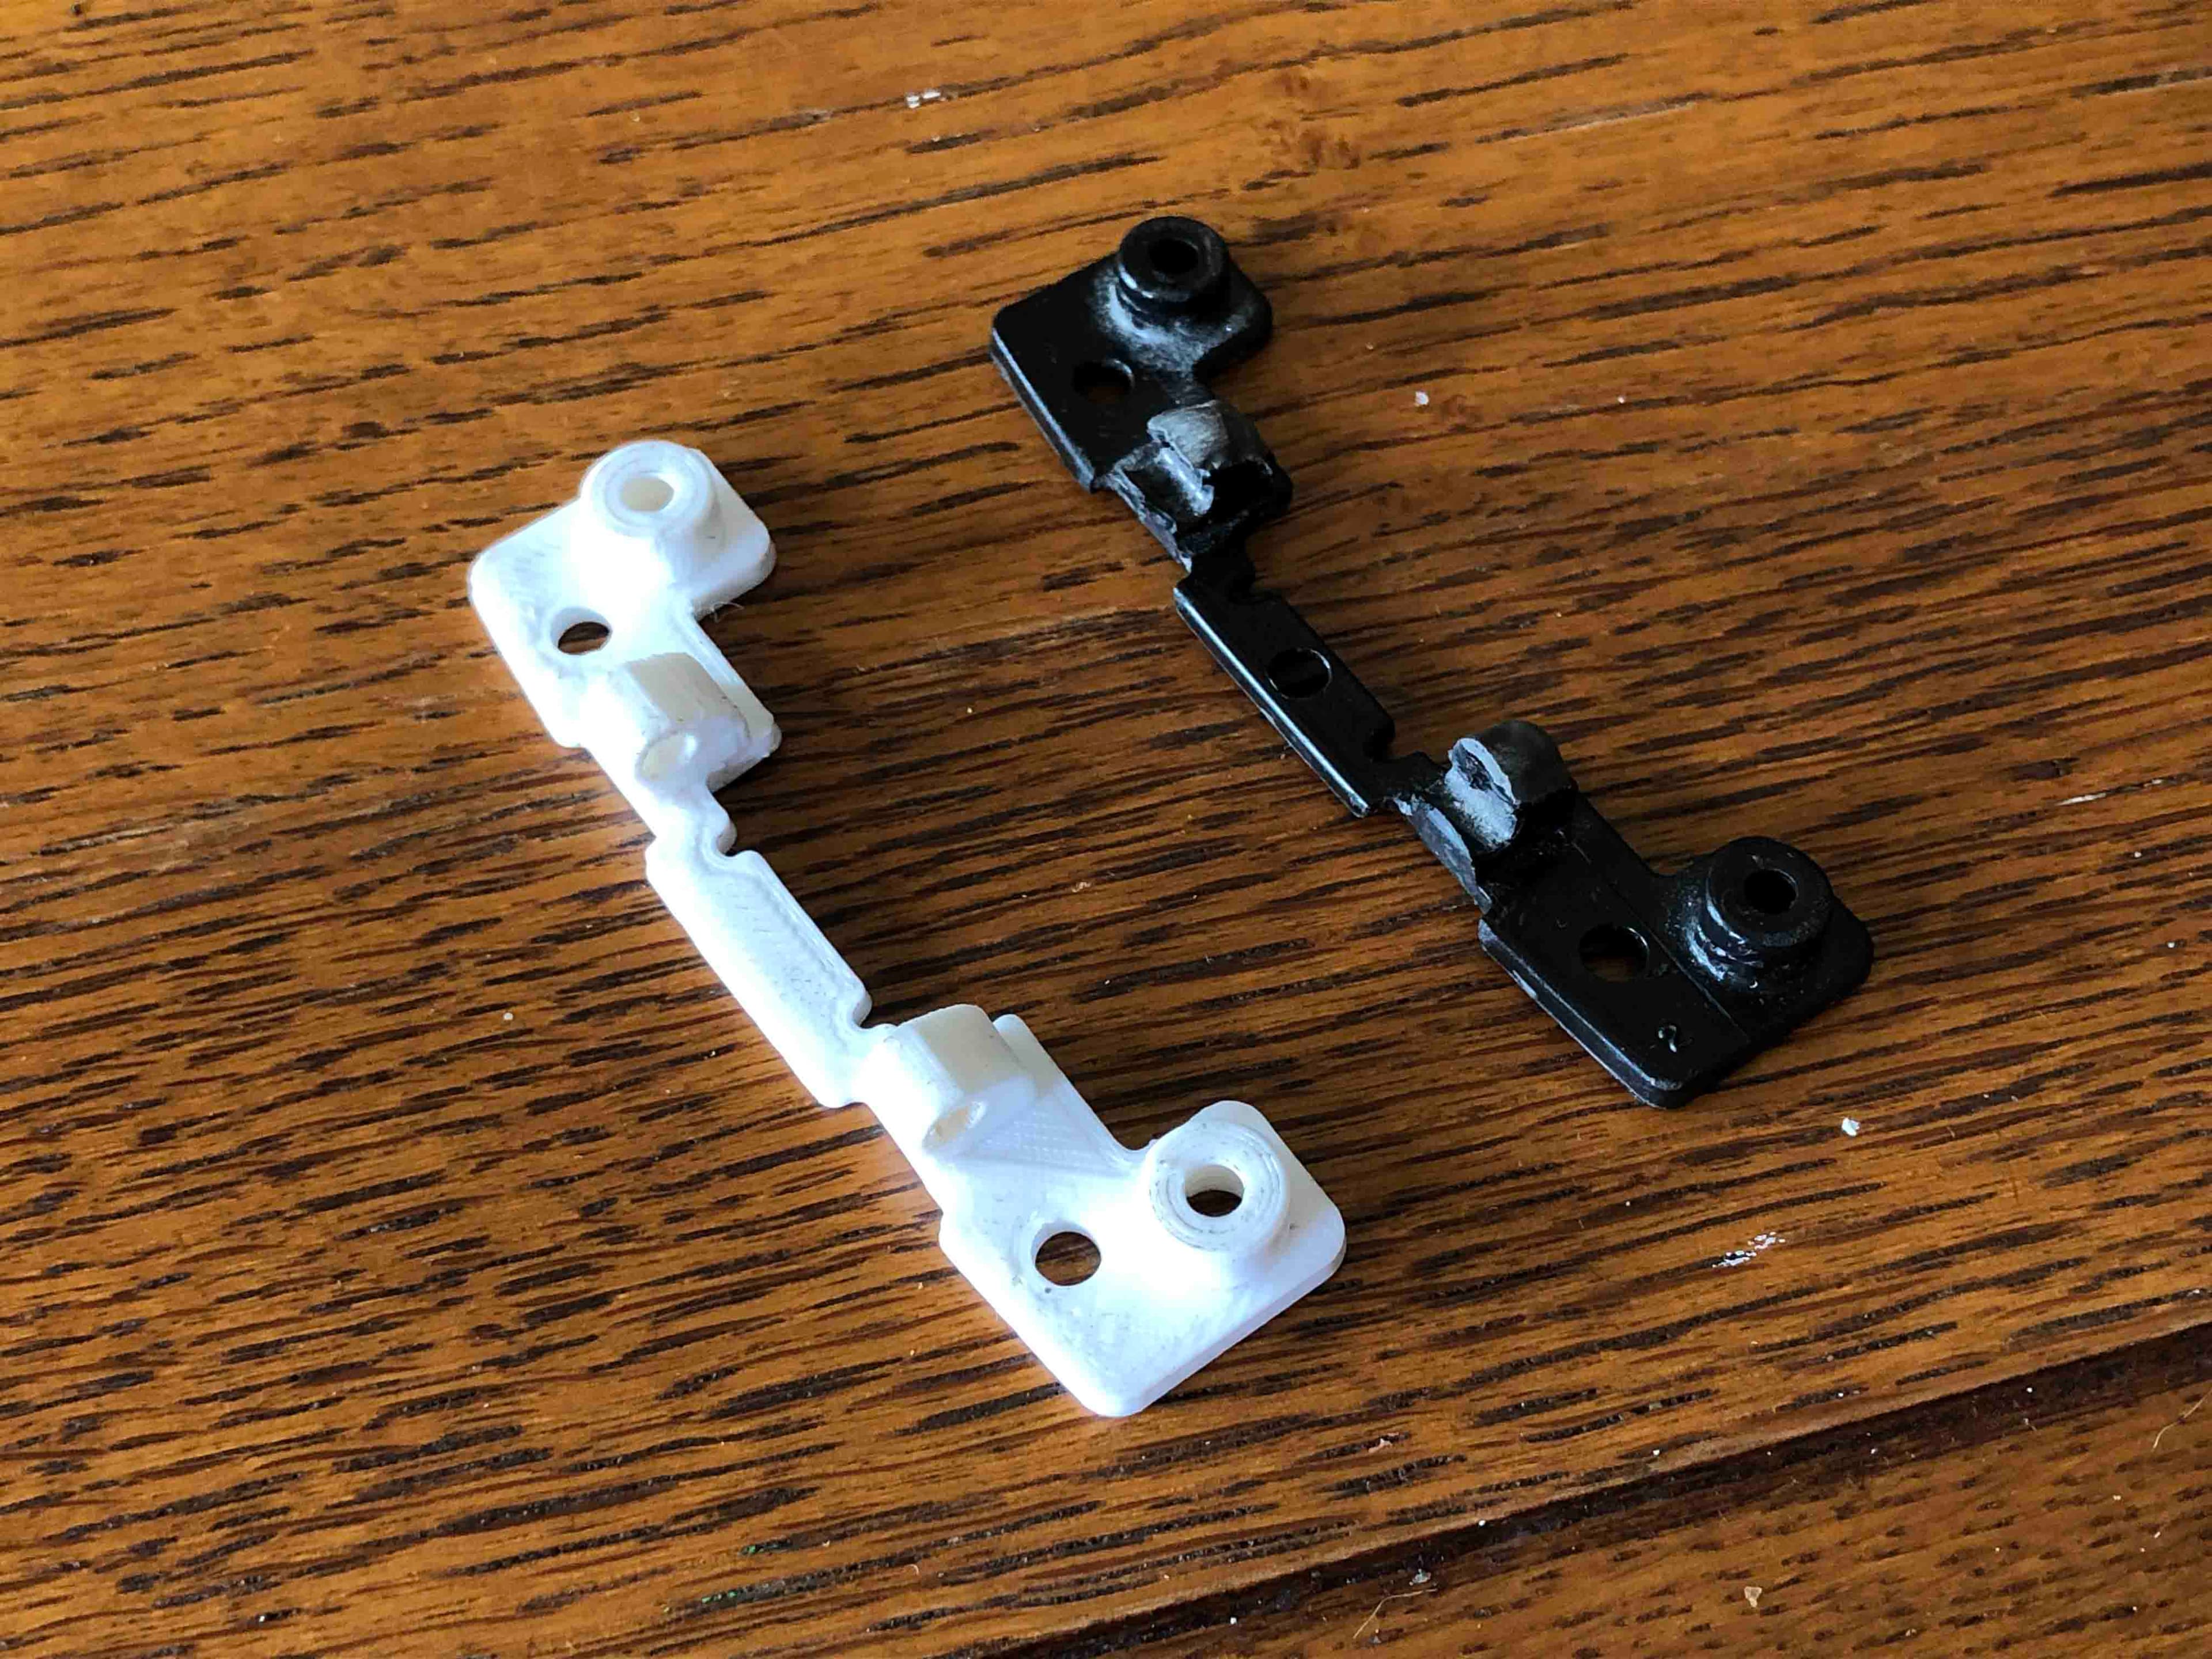
Chevy isn't really known for quality nowadays. Their Cruze is no exception. On the 2008-2016 model years, there is a tiny storage tray on the dash. Some trim levels have it so there's just an open tray, other's have it with a door on top of said tray. The units with the hinging door are made of what can only be described as the cheapest sh!t in the world. The bracket that holds the pivot rod of the latch is prone to failure. It failed on my car, and it failed on every car I found in the junkyard when I went searching to go replace it. I tried to fix it with some epoxy, but it didn't last. So, I decided to just remake the whole thing! If you undo the two 7mm hex bolts underneath the rubber liner of the tray, pop the whole unit out, pop off the retaining clips and remove the pins for the door hinge, you'll have access to the T10 torx bolts that hold the underside of the tray to the top side. Once removed, you can simply unscrew the latch hinge bracket, push out the hinge pin, and swap everything over to the newly printed one. It may sound overwhelming, and that's because it is. The whole process, start to finish, should take probably 15-20 minutes. You might have to drill out the hole for the hinge pin just a tad bit so it rotates freely, but other than that it should be a direct swap. Good luck!
Print Settings
Compatible Cars
Originally published on thingiverse.com · License: CC BY
Share whether this print actually fits a real car. Installed photos and material notes make the catalog more trustworthy.
Related Parts
Finding specific fitment/category matches first.

