
Slice the required model files; source file size is not printable volume.
Use the slicer's filament total; STL/3MF byte size is not a cost input.
Slice with the recommended material, infill, orientation, and supports.
| STL file | Role | Source size | PETG / ASA 20% | PETG / ASA 25% | 100% solid | Recommendation |
|---|---|---|---|---|---|---|
| No printable model files are available for an estimate yet. | ||||||
Saved setup guidance is used for material, infill, support, and per-file recommendation text; editable numbers are planning estimates only.
Control Panel for Tesla Model 3

Shared by
3DPrintedCarPartDescription
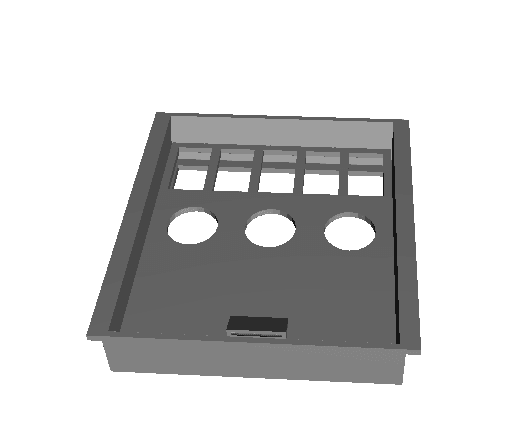
I designed this control panel for the forward center of a Tesla Model 3 to house switches for accessories, in my case emergency lighting for a roadside assistance vehicle. The panel has cutouts for 5 switches and 3 cigarette lighter plugs but can be customized to your needs. the first step is to remove the center console cover with the wireless charger, it is attached with clips. unscrew the 12 screws along both sides of the chrome trim piece and remove it. Pull off the passenger-side vertical carpet which is held with more clips. The hard plastic part of the side of the center console can be peeled away towards the front for access and does not need to be removed fully. You'll need to drill (2) 1-inch holes in the right side of your center console for the 2 connectors. I ran 12 AWG wire from the passenger-side kick panel, tapping into the thick red wire and bolting the negative to the frame. Inside the center console, I wired this to a 12v battery connector that I cut in half, mounting the female side in the center console, and wiring the male side to the panel. I used a 7-pin industrial connector, male end wired to the switches in the panel, female to the center console. You can buy larger connectors if you have more accessories. The 3-d printed spacer keeps the 7-pin connector from butting up against the inside of the passenger-side carpet. I ran the positives from the female end of the 7-pin connector the empty space inside the bottom back of the center console, where I can hook up the wires coming from any accessories. Amazon list for parts I used: https://www.amazon.com/hz/wishlist/ls/2SKP6CI21ZV7J?ref_=wl_share
Compatible Cars
Originally published on thingiverse.com by Raphael Rosin (ryrosin) · License: CC BY-NC-SA
Share whether this print actually fits a real car. Installed photos and material notes make the catalog more trustworthy.
Related Parts
Most specific car + model + year + category matches first, with popular parts mixed in.
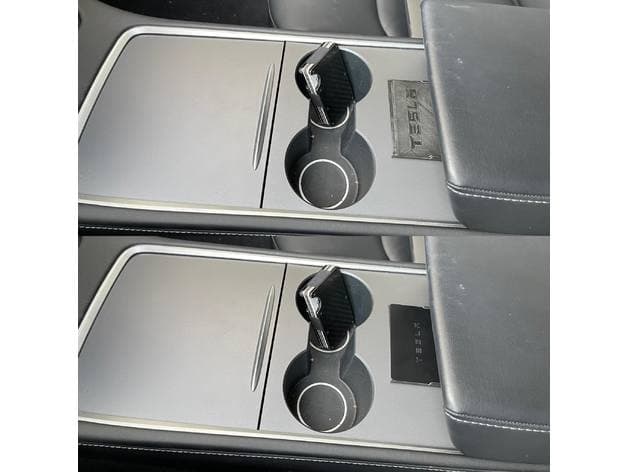
Tesla Model 3 / Model Y Console Key Card Holder
License: CC BY
View & download STL files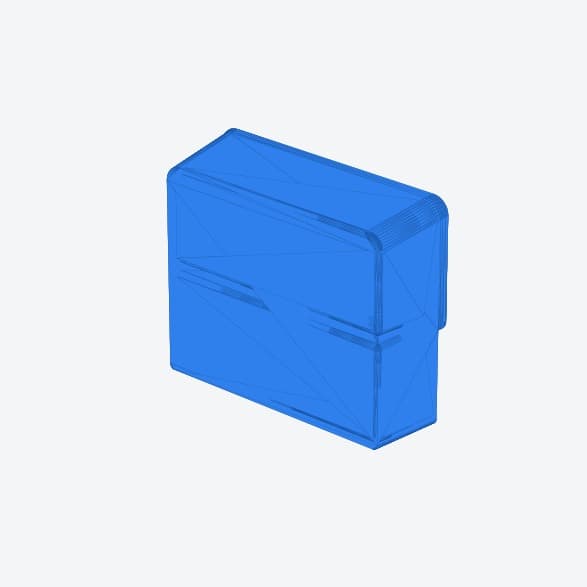
Tesla Model 3 Center Console Tray
License: CC BY
View STL source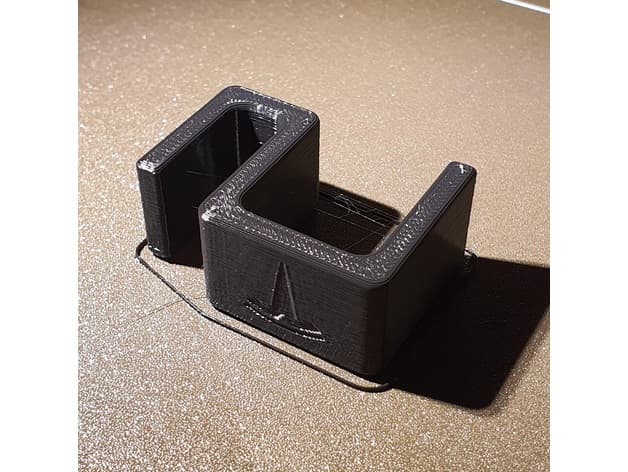
Tesla Model 3 Center Console Plastic Bag Hook
License: CC BY
View & download STL files
Tesla Model 3 Center Console Tray w/ J1772 Adapter Slot + card slot (no coin slot)
License: CC BY
View & download STL files
Tesla Model 3 Center Console Remake with Spot for Light
License: CC BY
View & download STL files
BMW X5 E70 Center Console Blind Plate
BMW
License: CC BY
View & download STL files
