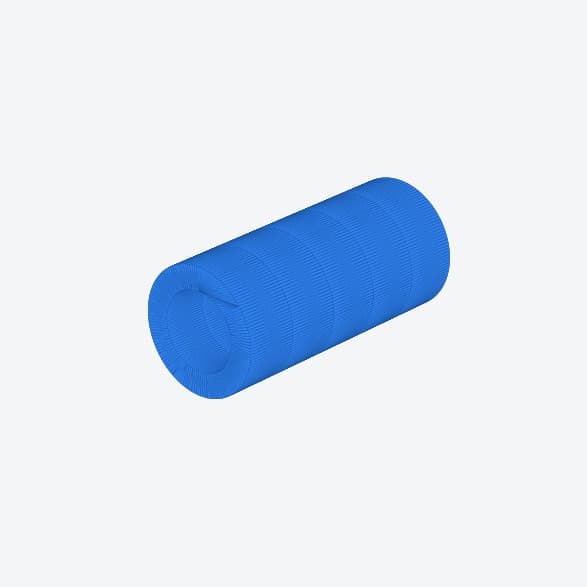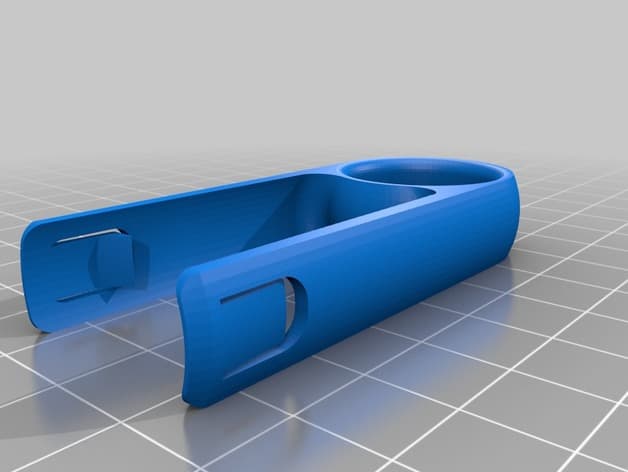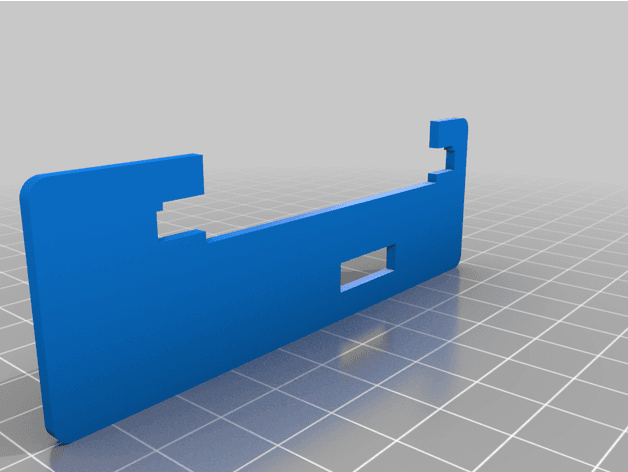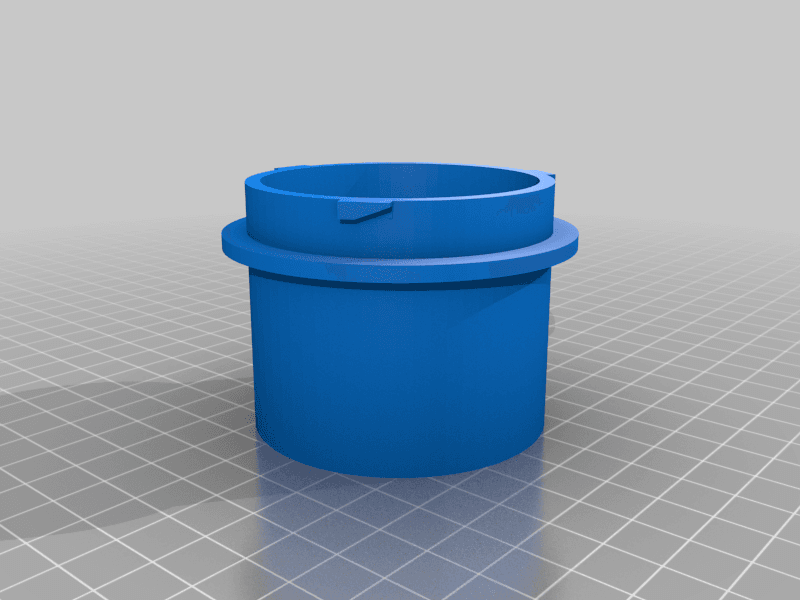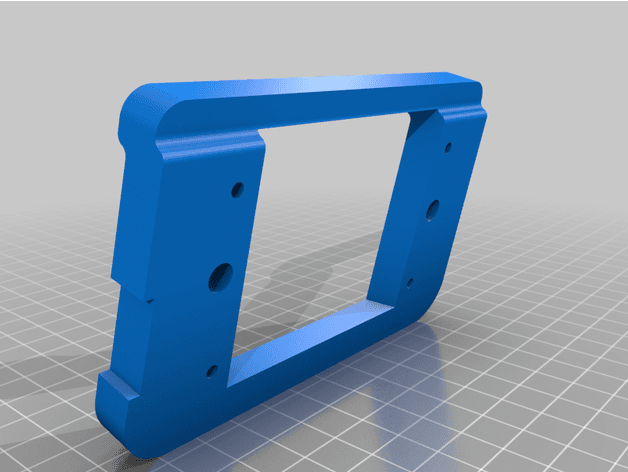
Drilling template for VW T6 inverter power outlet
License & use
Files stay with the original publisher; this catalog entry does not grant hosting or resale rights. License status does not verify vehicle fitment, OEM rights, design patents, or safety.
Shared by
Flo Tiver (Tiver3D)Description
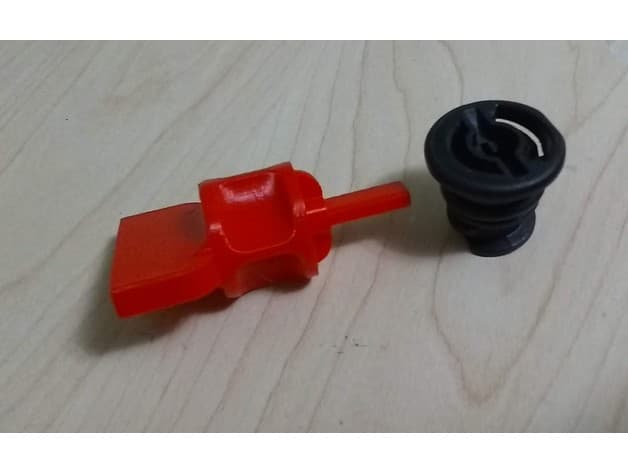
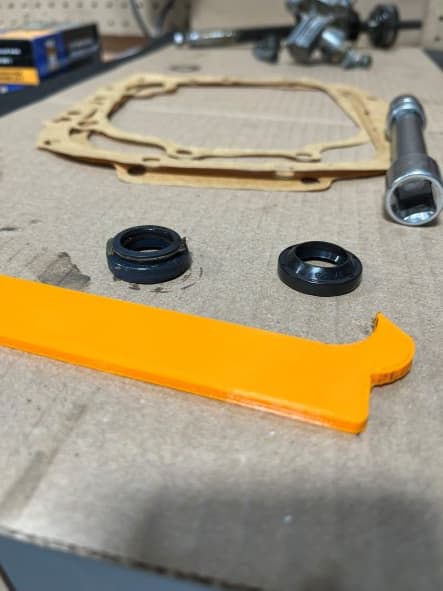
Drilling template for making the opening and boreholes in the driver seat base to installing the original VW T6.1 inverter power outlet (besides the parking brake). Recommended parts: Trim for socket (with flap) 2N0 864 147 A Trim frame front part 7LA 864 135 Frame lower part 7LA 864 134 screw (4 pcs) N 909 302 01 Socket 7C0 919 309 A (230V 300W version) or it comes with the 150W inverter Inverter VW 230V 150W 3F0 907 155 or Inverter VW 230V 300W 7C0 907 155 (usually won't work due to LIN demand!) or Inverter 300W from aftermarket and adapt the wiring of VW socket First try to fit the front part to the drilling template to ckeck if all is correct. Find the correct position on seat base according to the pictures. Drilling procedure is quite challenging because the template slips back and forth at the beginning. Eventually apply a double-sided tape. Start with one 3mm bore, fix it with a long M3 bolt, drill the opposite bore, fix it and so on until all four 3mm bores are done and fixed. Then drill the two 6mm bores. These are quite bloody because the drill tip drifts away from the underlying concave fillet. If you have a 6mm centring drill - take it! Then mark out the rectangular opening. Finally, remove the template and enlarge the four 3mm bores to 4,5mm. Cut out the opening, e.g. with a Fein Multimaster. Deburr everything. If you want to play safe apply rust-proofing paint. After cleansing you are ready for assembly. Leave the wiring to a car electrician if you are not a practitioner.
Compatible Vehicles
Originally published on thingiverse.com by Flo Tiver (Tiver3D) · License: CC BY-NC-SA
Browse categories
Browse other part families
Jump to interior, exterior, accessories, dashboard, mechanical, or tools hubs when you need a different kind of replacement part.
Share whether this print actually fits a real car. Installed photos and material notes make the catalog more trustworthy.
Ask the community about this part
Start a fitment, printing, or design discussion with this part already attached.
Related Parts
Most specific car + model + year + category matches first, with popular parts mixed in.