
Slice the required model files; source file size is not printable volume.
Use the slicer's filament total; STL/3MF byte size is not a cost input.
Slice with the recommended material, infill, orientation, and supports.
| STL file | Role | Source size | PETG / ASA 20% | PETG / ASA 25% | 100% solid | Recommendation |
|---|---|---|---|---|---|---|
| No printable model files are available for an estimate yet. | ||||||
Saved setup guidance is used for material, infill, support, and per-file recommendation text; editable numbers are planning estimates only.
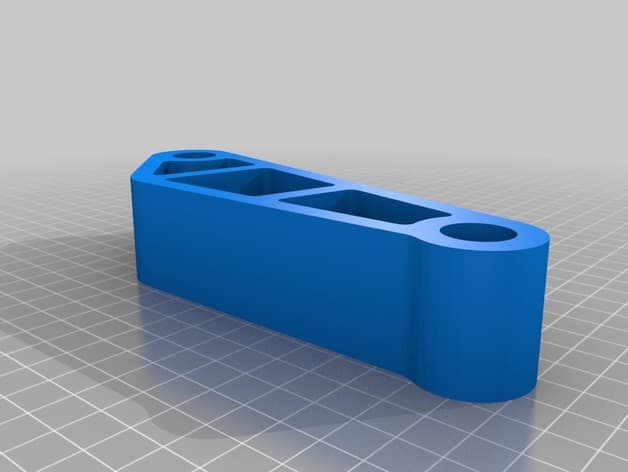
Fiesta ST Pedal Spacer

Shared by
3DPrintedCarPartDescription
EDIT 2: Hardware listed has only been tested by me for the 1.5" model. Any other model might require some fiddling, but since the stud size is given that should be no problem. EDIT: I have added various heights of the pedal spacer, as several users have asked for shorter spacers. The file Pedal_Spacer3.STL is the original, 1.5 inch thick spacer (The "3" is in the name because it is the 3rd revision), and the rest of the sizes have more descriptive names following "Pedal_Spacer". The new sizes are 1.25", 1", 0.75", 0.5". Enjoy. This part is a spacer for the accelerator pedal of a Ford Fiesta ST. As stock, the pedal sits about an inch and a half recessed from the brake and clutch pedal's plane, and this part, along with other hardware, brings the accelerator into the same plane. The advantage to this is less time spent switching between gas and brake, making cornering smother, it also seems to make the driver's seating more comfortable, but that's subjective. I created this project as a cheaper alternative to available kits, and tried to make it as comprehensive as possible. To install this you will need the following: Tools: Metric socket set, including 12mm and 13mm sockets and extension Flat head screwdriver (optional) Hardware: M8 by 1-1/4 inch coupling nut 1. McMaster PN 90009A222 2. True Value PN 44768-B M8 by 16mm bolt: I used a flange bolt if you do not, you may also want washers. 1. McMaster PN 95735A416 2. True Value PN 43338-B You may also want a thread locker such a loctite or a spacer, I will explain below. IMPORTANT: Wear gloves for install. Ford didn't grind the brake pedal arm, so I cut my thumbs to ribbons during the install. Don't be like me, have intact thumbs! Installation Steps: 1: Remove the two OEM nuts from accelerator pedal. The lower nut is easily visible and is on the left of the pedal. The upper nut is on the right and is harder to reach. There is a third nut that appears to hold the plate to the firewall and is much easier to see than the upper pedal nut. Do not be fooled! Get under there and take a good look. I think the OEM nuts use some sort of mechanical thread locking, so they take a little more torque to get off than you might expect. Use the 13mm socket and extension for this step. 2: With the nuts off, slide the pedal away from the firewall off of the threaded studs. The pedal will still be connected by its wires, but you should have enough room for the install. If not, the side of the connector facing away from the firewall has a clip, depress the clip with your thumb and wiggle the connector off of the pedal. I had to use a flat head screwdriver here to shim the gap between the male and female part of the connector to get them apart. They are SNUG. 3: Screw the coupling nuts on to the studs. Here would be where you would use the spacers and thread locker if you have them. I may do this in the future, and then I will provide a spacer part number as well. Test fit the spacer with the coupling washers; the washers should be just a bit recessed of their holes. 4: Put the spacer on over the coupling nuts. The end where the hole is closer to the bend goes up. 5: Put the pedal over the spacer and use the M8 bolts to affix the pedal to the spacer and coupling nuts. Reattach the plug if you detached it. Now you will likely need to readjust your seating, I did. At this time I know the part fits a Fiesta ST and am working toward confirmation of it fitting a Focus ST. I provided drawings if you would like to take it upon yourself to confirm: just print it out on paper, make sure the dimensions are accurate, and please let me know whether or not it fits! Thanks EDIT: Special thanks to Reddit's u/poco153 for providing the True Value part numbers. Check Poco's build out.
Compatible Cars
Originally published on thingiverse.com by T R (makerust) · License: CC BY-NC
Share whether this print actually fits a real car. Installed photos and material notes make the catalog more trustworthy.
Related Parts
Most specific car + model + year + category matches first, with popular parts mixed in.
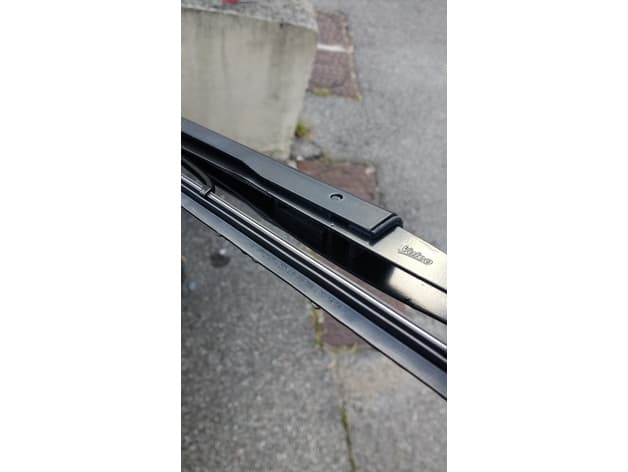
Rear wiper bracket FORD FIESTA IV 99
License: CC BY-NC
View STL source
Ford Fiesta Zetec S Fog light air duct
License: CC BY-NC
View STL source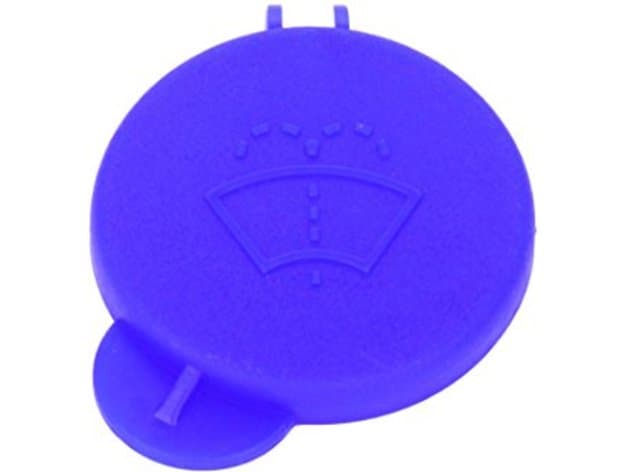
Replacement for ford Fiesta Washer Bottle Cap
License: CC BY
View & download STL files
Safety for Ford cap tank
License: CC0
View & download STL files
Ford Fiesta handbrake black hole plug
License: CC BY
View & download STL files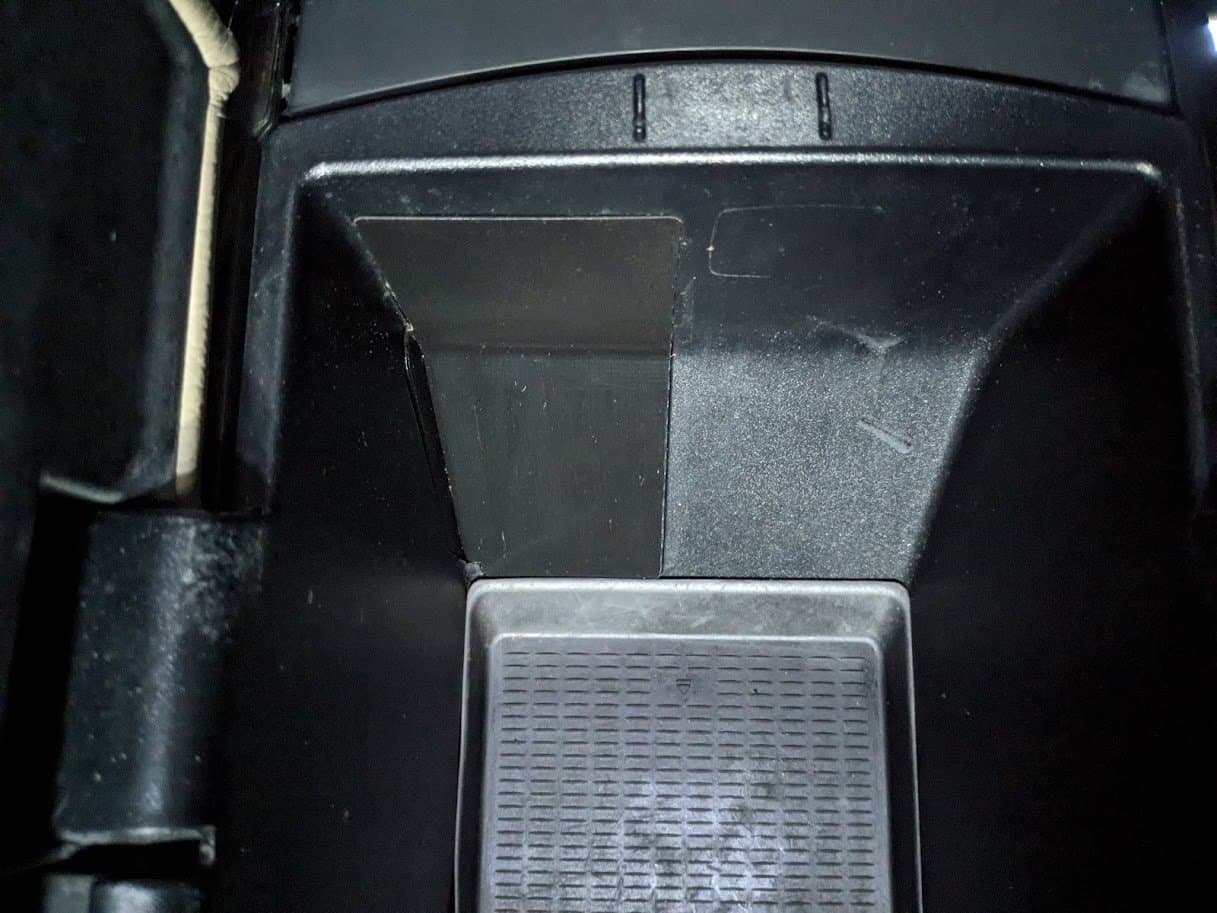
BMW X5 E70 Center Console Blind Plate
BMW
License: CC BY
View & download STL files
