

Files (11)
Choose the needed variant and slice it; source file size is not printable volume.
Use the slicer's filament total; STL/3MF byte size is not a cost input.
Slice with the recommended material, infill, orientation, and supports.
| STL file | Role | Source size | PETG / ASA 20% | PETG / ASA 25% | 100% solid | Recommendation |
|---|---|---|---|---|---|---|
| 1971_Heater_Switch_BLANK.STEP | Printable file | 98.3 KB STEP | Slice file | Slice file | Slice file | Ensure proper orientation for minimal supports |
| 1971_Heater_Switch_L.STL | Printable file | 1.1 MB STL | Slice file | Slice file | Slice file | Ensure proper orientation for minimal supports |
| 1971_Large_Switch_12V_STL.STL | Printable file | 1.1 MB STL | Slice file | Slice file | Slice file | Ensure proper orientation for minimal supports |
| 1971_Large_Switch_BLANK.STEP | Printable file | 109.1 KB STEP | Slice file | Slice file | Slice file | Ensure proper orientation for minimal supports |
| 1971_Large_Switch_Fog_STL.STL | Printable file | 1.1 MB STL | Slice file | Slice file | Slice file | Ensure proper orientation for minimal supports |
| 1971_Large_Switch_Hazard_STL.STL | Printable file | 1.0 MB STL | Slice file | Slice file | Slice file | Ensure proper orientation for minimal supports |
| 1971_Large_Switch_Power.STL | Printable file | 1.0 MB STL | Slice file | Slice file | Slice file | Ensure proper orientation for minimal supports |
| 1971_Large_Switch_Question.STL | Printable file | 1.1 MB STL | Slice file | Slice file | Slice file | Ensure proper orientation for minimal supports |
| 1971_Mini_Switch_Compressor.STL | Printable file | 1.2 MB STL | Slice file | Slice file | Slice file | Ensure proper orientation for minimal supports |
| 1971_Mini_Switch_Front_Locker.STL | Printable file | 1.2 MB STL | Slice file | Slice file | Slice file | Ensure proper orientation for minimal supports |
| 1971_Mini_Switch_Rear_Locker.STL | Printable file | 1.2 MB STL | Slice file | Slice file | Slice file | Ensure proper orientation for minimal supports |
Saved setup guidance is used for material, infill, support, and per-file recommendation text; editable numbers are planning estimates only.
FJ40 Custom Dash Knobs

Shared by
3DPrintedCarPartDescription
Overview: These are modeled after the early style knobs. Some knobs are at half-height as I am planning on putting them under the dash and wanted them to be lower profile. Process for those who want to make custom knows: Download the blank STEP file and cut in your own icon, You can find good icons to use via Noun Project: Free Icons & Stock Photos for Everything - https://thenounproject.com/. Either import directly or use it as a guide for your own line art. I normally try and make the line width 0.75mm wide and 0.50mm deep. Notes: Tap the base hole as M5 and the set screw hole as M4. I use this for the set screw McMaster-Carr - https://www.mcmaster.com/93038A126/ Post Process and Paint Fill Process: After Tapping the Knobs. I use a spare M5 Screw in a drill to chuck the knob. I then use Novus 7136 Plastic Polish Kit starting at 3 up to 1 to get the surface a bit shinier. For the colored paint Fill, I use Enamel paint meant for miniature model painting. I like Humbrol but Testors work great as well. For White is use a Presto! Multipurpose Correction Pen If possible use an Ink Syringe with the enamel to fill otherwise I just use a paintbrush or needle to get it filled. I try and dab most of the paint off. This leaves it pretty messy. After the paint semi sets up. I take some Goof Off paint remover and wipe the surface clean with a microfiber towel. I repeat the paint application/wipe removal as needed till I'm happy with the fill.
Compatible Cars
Originally published on thingiverse.com by Emmanuel Carrillo (emancarrillo) · License: CC BY
Share whether this print actually fits a real car. Installed photos and material notes make the catalog more trustworthy.
Related Parts
Most specific car + model + year + category matches first, with popular parts mixed in.

FJ40 Custom Dash Knobs 73-79
License: CC BY
View & download STL files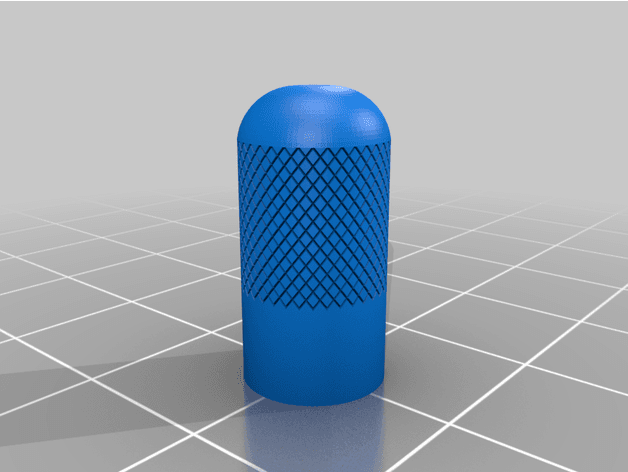
Toyota V8 Seat Heating
License: CC BY
View & download STL files
Split shift knob 50mm diameter
License: CC BY
View & download STL files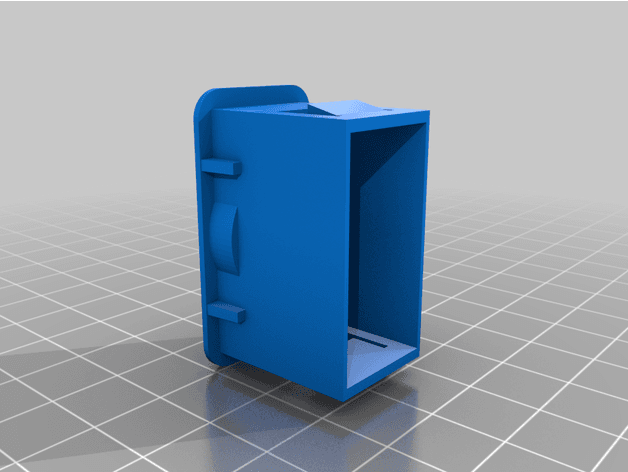
Toyota 12mm toggle switch
Toyota
License: CC BY
View & download STL files
Toyota Corolla remote control button
License: CC BY
View & download STL files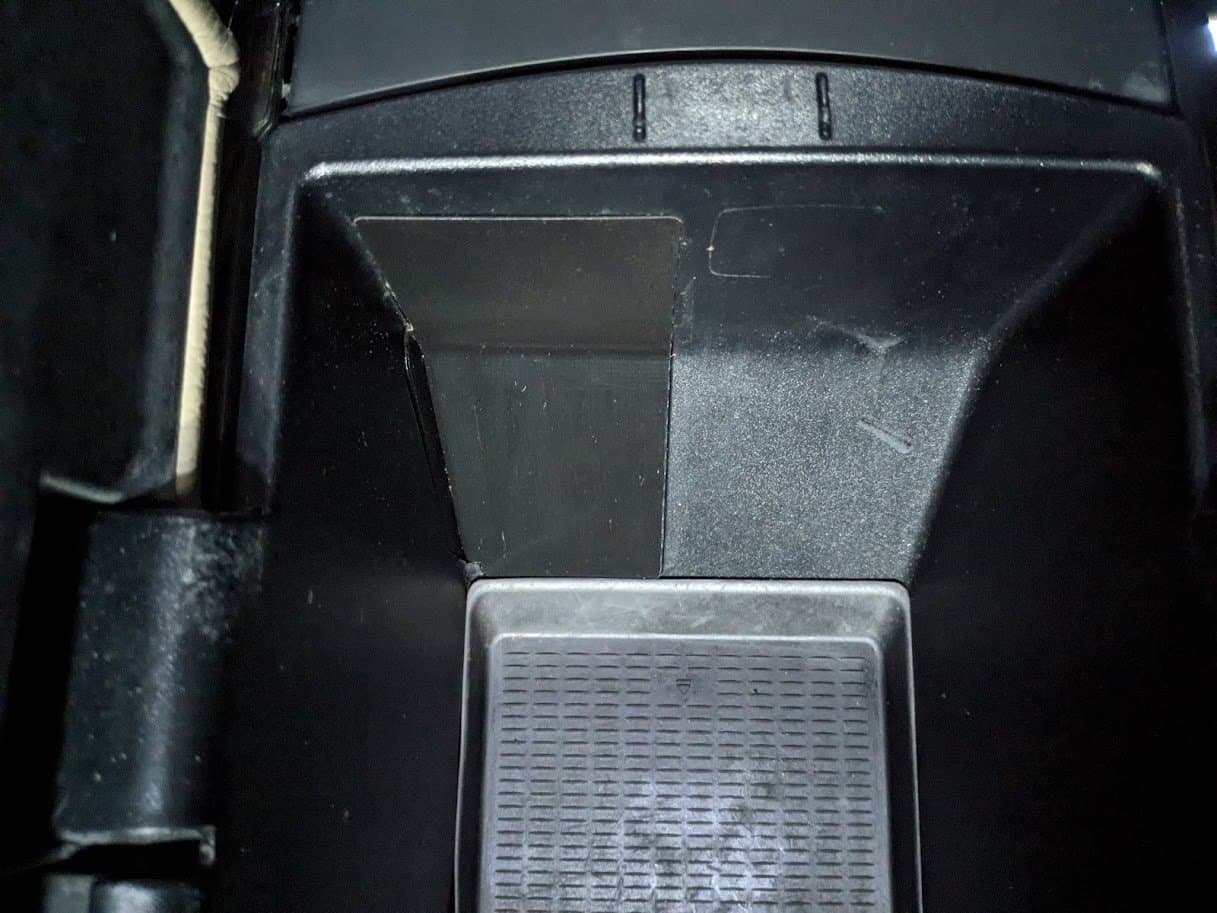
BMW X5 E70 Center Console Blind Plate
BMW
License: CC BY
View & download STL files
