
Slice the required model files; source file size is not printable volume.
Use the slicer's filament total; STL/3MF byte size is not a cost input.
Slice with the recommended material, infill, orientation, and supports.
| STL file | Role | Source size | PETG / ASA 20% | PETG / ASA 25% | 100% solid | Recommendation |
|---|---|---|---|---|---|---|
| No printable model files are available for an estimate yet. | ||||||
Saved setup guidance is used for material, infill, support, and per-file recommendation text; editable numbers are planning estimates only.
Ford Flat Head V8 Engine Control Box

Shared by
3DPrintedCarPartDescription
After I started to build the Ford Flathead V8 that Eric Harrell designed, and kindly made available to us, I decided I wanted a control box that matched the quality and detail of Eric’s engine. So I came up with this design that mimics the Exide batteries that I remember as a kid. I wanted something that was clean looking, yet allowed for the control of the V8 engine. I realize that this design isn’t for everyone, but I wanted to offer it to anyone that is as anal as I am about the details. Printing this requires multiple steps and some gluing to complete the assembly. I did this for 2 reasons. First, it allowed me to print the parts so that they can be assembled in steps for a better fit. And second, it allowed me to enhance the printing by having different pieces printed in a contrasting, and more realistic color. For instance, I decided to have the cell caps yellow. Instead of having to paint them later, I just need to glue the yellow caps in place. The front and back side panels are printed with a contrasting color for the letters and are printed better with the panels lying flat on the bed. I used the Prusa Slicer which allowed me to change colors at a specific layer in the printing process. In order to make a nice clean looking battery, I incorporated the cable connector into a battery terminal replica and made one of the battery posts the actual rheostat control knob to control the speed of the engine. And for the final touch, I added a chamber in the box to hold lead shot to give the unit some weight. This not only adds to the realism, but it also keeps the unit from moving around the table when operating the engine. To allow for portability, I wanted to use a USB Power Pack to provide the input power. I use a Booster circuit board to allow the input power to come from either a USB Charger or a USB Power Pack. The Booster increases the 5 volts from the USB connector to 12 volts required of the engine. The connector of choice is a USB Type C connector so you don’t have to worry about which side of the connector is up or down. Please read the attached PDF file for additional build information and assembly instructions.
Compatible Cars
Originally published on thingiverse.com by Robert Maio (PlymouthMan) · License: CC BY-NC
Share whether this print actually fits a real car. Installed photos and material notes make the catalog more trustworthy.
Related Parts
Most specific car + model + year + category matches first, with popular parts mixed in.
1995 Ford F-150 Door Striker Bushing
License: CC BY-NC-SA
View STL source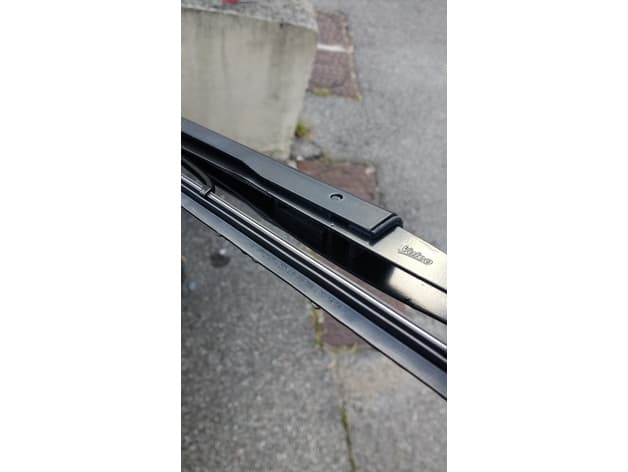
Rear wiper bracket FORD FIESTA IV 99
License: CC BY-NC
View STL source
Ford Fiesta Zetec S Fog light air duct
License: CC BY-NC
View STL source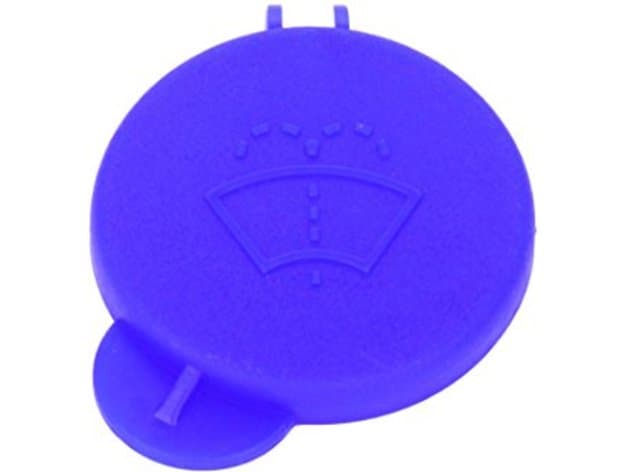
Replacement for ford Fiesta Washer Bottle Cap
License: CC BY
View & download STL files
MK7 Transit Sliding Door Rail End Cap
License: CC BY
View & download STL files
BMW X5 E70 Center Console Blind Plate
BMW
License: CC BY
View & download STL files
