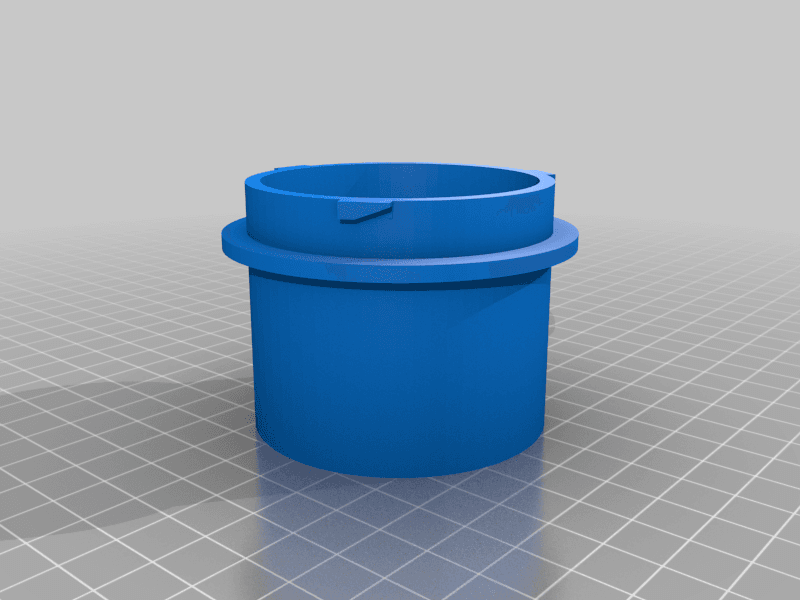
Mini mosquito net for VW California
License & use
The file license permits commercial reuse, subject to any applicable attribution or share-alike terms. License status does not verify vehicle fitment, OEM rights, design patents, or safety.
Shared by
Rasmus Nielsen (rasniel)Description
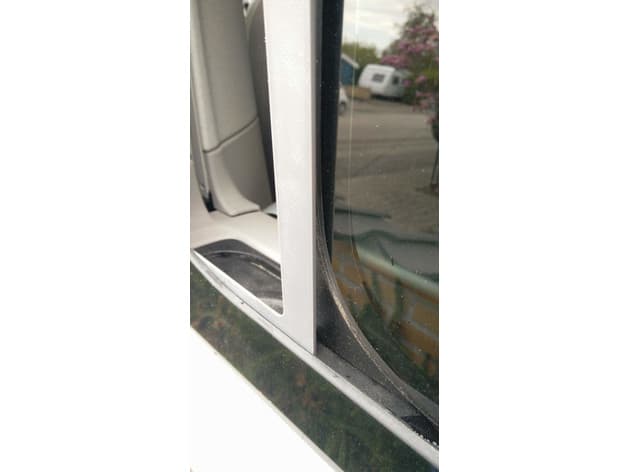
A mosquito net for the VW California that is mush easier to both store and mount than the original one supplied with the camper. Easily fits e.g. up against one of the sides in the drawer under the bench. No need to be flat on the bottom - under everything else in the drawer. Easy to mount in the window. Just slide the window open, insert the net against the alu. profile behind the driver seat and slide the window to the last lockable position. Done! In the current form it is not 100% mosquito proof, as there is a gap between the net and the window, see the pictures. I guess that it would be possible to stick a rubber strip on it for a tighter seal. A fair amount of assembly / gluing is required. The files only contain one of each part, but some of them are required in multiple copies: 4x Connector "bone" 2x Rear "stop block" (the ones with a platoeu at half height) 3x Front "stop block" 2x Top/bottom part of the inner frame See picture. Assembly instructions. I used glue clamps, just be careful to not glue them to the frame. 1) Assemble the outer / main frame, using the bones. I glued in the bones and also put glue generally in the gaps between the parts. Now it is already possible to test fit the frame in the window. The "stop block" can just about stay in place without glue. Do not glue them until the last step! Just use some blue tack if they need a bit of extra support. 2) Place the inner frame on top of a suitable net and mark, cut the net to size. 3) Fest-fit net and inner frame in the outer frame. I had to trim the ends of the inner frames slightly to make it all fit. 4) Fit the net in the outer frame, add glue, add inner frame on top. It is not necessary to glue it all at once. The inner frame is flexible enough that one end can be lifted for adding glue, even after the other end has already been glued in place. 5) When the entire frame is assembled the "stop blocks" can be glued in the notches / on the frame. Unfortunately I don't have many pictures of the fully assembled unit. The test fits in several of the picture are obviously without the net:).
Compatible Vehicles
Originally published on thingiverse.com by Rasmus Nielsen (rasniel) · License: CC BY
Browse categories
Browse other part families
Jump to interior, exterior, accessories, dashboard, mechanical, or tools hubs when you need a different kind of replacement part.
Share whether this print actually fits a real car. Installed photos and material notes make the catalog more trustworthy.
Ask the community about this part
Start a fitment, printing, or design discussion with this part already attached.
Related Parts
Most specific car + model + year + category matches first, with popular parts mixed in.