
Files (1)
Slice the required model files; source file size is not printable volume.
Use the slicer's filament total; STL/3MF byte size is not a cost input.
Slice with the recommended material, infill, orientation, and supports.
| STL file | Role | Source size | PETG / ASA 20% | PETG / ASA 25% | 100% solid | Recommendation |
|---|---|---|---|---|---|---|
| Passat_Back_Logo_-_Overwatch.stl | Primary model | 194.2 KB STL | Slice file | Slice file | Slice file | Ensure the print bed is level and clean for optimal adhesion |
Saved setup guidance is used for material, infill, support, and per-file recommendation text; editable numbers are planning estimates only.
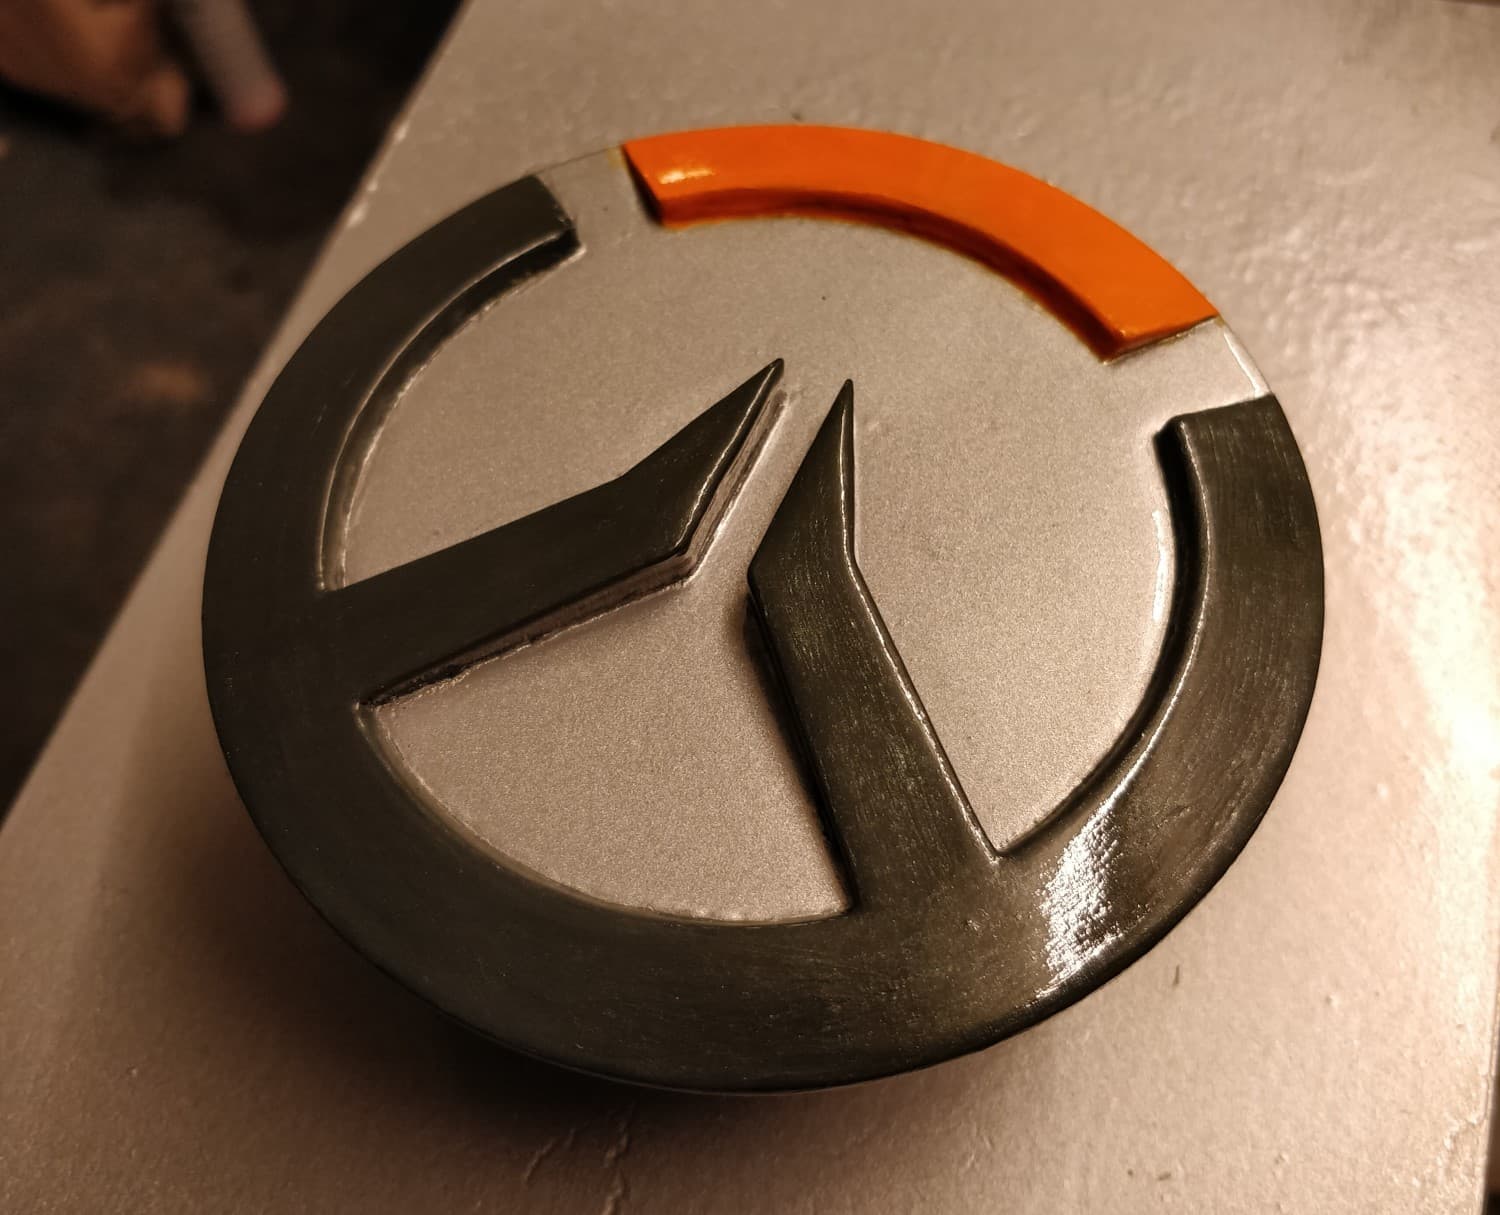
Overwatch Logo for VW Passat Trunk

Shared by
3DPrintedCarPartDescription
After seeing a similar logo on another car on Reddit (think we called it Overwagen, as Volkswatch somehow sounded wrong...), I wanted one for my old but trusty Volkswagen:D Alas, at the time I couldn't find one, so had to make it myself. Aaaand then simply forgot to share this for almost a year... Whoops. Anyhow, here's a simple logo for you to print! Should fit as is to the back trunk in place of the regular VW logo, at least for 2008ish Volkswagen Passat (body type 3C, BB or 5D, I don't really know...) PRINTING: You can print it with 0.06 layer height, which I use for most detailed prints on my Ender-5. Or, you could print one with ABS-like resin, thus reducing post-processing. HOWEVER, make sure to use either ABS or PETG! Those will withstand the heat under sun, when you car will be sitting outside during summer time. PLA might deform. POST-PROCESSING: The print most likely needs a little post processing. In my case I had to sand on top of the logo a little, apply plastic paste, sand again and then primer with gray spray-paint. You can leave the "bottom" as is, but I recommend some primer there as well. After primer, I sprayed the "background" of the logo with the cheapest silver spray paint I could find/had laying around. Once dry, I hand painted the edges with yellowish-orange and black acrylic paints, and let dry once again. Once I was happy with the results, I sprayed 2 layers of car varnish on top of everything except the backside, to make sure paint won't run into sunset after a few miles:D For installation: Just pry the old one carefully off with plastic spatula and hairdryer or hot air gun. I don't recommend using metallic tools, as you might scratch the paint job underneath. However if you do, make sure to spray it with zinc paint or similar "anti-rust" solution before applying the new logo! As for myself, I simply glued the new logo in place with some cheap installation glue and 2 pieces of double sided tape to keep the piece in place until glue solidified. Feel free to use and share! You should also be able to scale the desing up or down easily, depending on your car model. The logo itself is flat on the backside, so sideways decrease/increase in diamater should do the trick, even if you don't have exactly the same car I do:).
Compatible Cars
Originally published on thingiverse.com by Kran Designs (Kranaika) · License: CC BY
Share whether this print actually fits a real car. Installed photos and material notes make the catalog more trustworthy.
Related Parts
Finding specific fitment/category matches first.

