
Slice the required model files; source file size is not printable volume.
Use the slicer's filament total; STL/3MF byte size is not a cost input.
Slice with the recommended material, infill, orientation, and supports.
| STL file | Role | Source size | PETG / ASA 20% | PETG / ASA 25% | 100% solid | Recommendation |
|---|---|---|---|---|---|---|
| No printable model files are available for an estimate yet. | ||||||
Saved setup guidance is used for material, infill, support, and per-file recommendation text; editable numbers are planning estimates only.
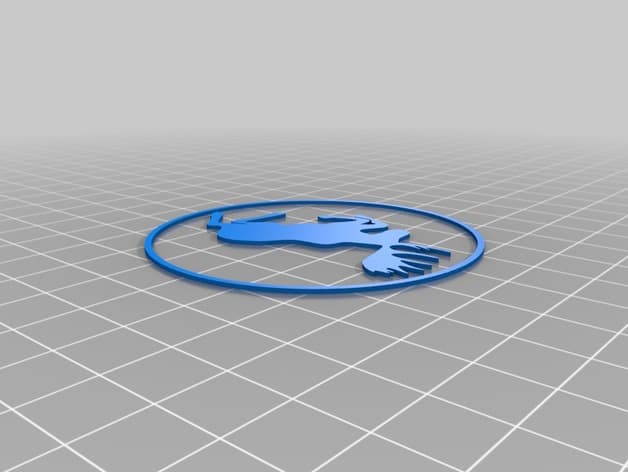
Volvo Prancing Moose Wheel Hub Center Cap

Shared by
3DPrintedCarPartDescription
I lost two of my wheel hub covers (due to brakes failing to open/running too hot), so I finally got around to designing some replacements. I didn't want to go with boring mono-color, so I added the prancing moose on top of it. For the section holding it in the rims hole: Diameter of the base is 61.3 mm, and the depth is 10.3. On top of that sits the 1.4mm moose decal plate, which is a bit wider (d=63.3mm). My wheels are 205/55 R16, but I don't know the exact rim type (came with my used car). I believe you should be able to scale to the correct size (careful: your slicer will show you the 63.3mm outer diameter, but you need do the scaling using the 61.3mm!). For your convenience, I added a reduced test part. The measures were taken from one of my remaining original Volvo wheel caps, which has a diameter of a little over 61.0mm. But since I wanted a more tight fit for the self-printed part I added 0.3mm. It now fits very tight and to remove it I probably have to remove the wheel, but that's good. I also used six clips instead of four to improve the seating. This is my first attempt at dual color! I read that true dual color printers need two STLs, but since I only have a single extruder that variant is untested. Feedback on that topic is appreciated. CAREFUL: Brakes generate a lot of heat. I am not sure if PLA can withstand that, but I decided to give it a try for two prototypes. If you have ABS or another more heat resistant material (I don't), I recommend printing with that instead. My extruder driver overheated during ironing (no idea why), so for the sample image, I smoothed out the non-ironed parts to give you a better impression of the part. My findings after about 3000 km with these: None lost:), but after that time they are not tight enough anymore. If I get around to designing a second revision, this one will be 0.3 mm wider in diameter and the clips will get an additional 0.1 mm. Also, I'll might add some stabilizers on the inside (or just leave the infill inside). Else, PLA works fine for these:)
Compatible Cars
Originally published on thingiverse.com by Sebastian Meyer (archimedesmp) · License: CC BY-NC-SA
Share whether this print actually fits a real car. Installed photos and material notes make the catalog more trustworthy.
Related Parts
Most specific car + model + year + category matches first, with popular parts mixed in.
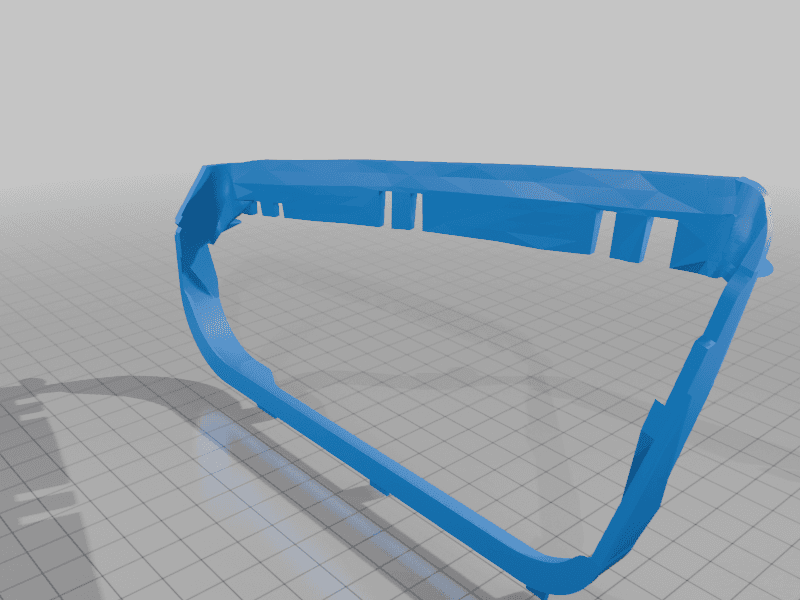
Volvo s60 handbrake cover frame
Volvo
License: CC BY
View & download STL files
Replacement part for volvo 850 cup holder
Volvo
License: CC BY
View & download STL files
Volvo (XC70/V70) Gear Shifter Knob Button
Volvo
License: CC BY
View & download STL files
Volvo XC70/V70 trunk/luggage compartment lock handle
Volvo
License: CC BY
View & download STL files
T8 Volvo Console Organizer
Volvo
License: CC BY
View & download STL files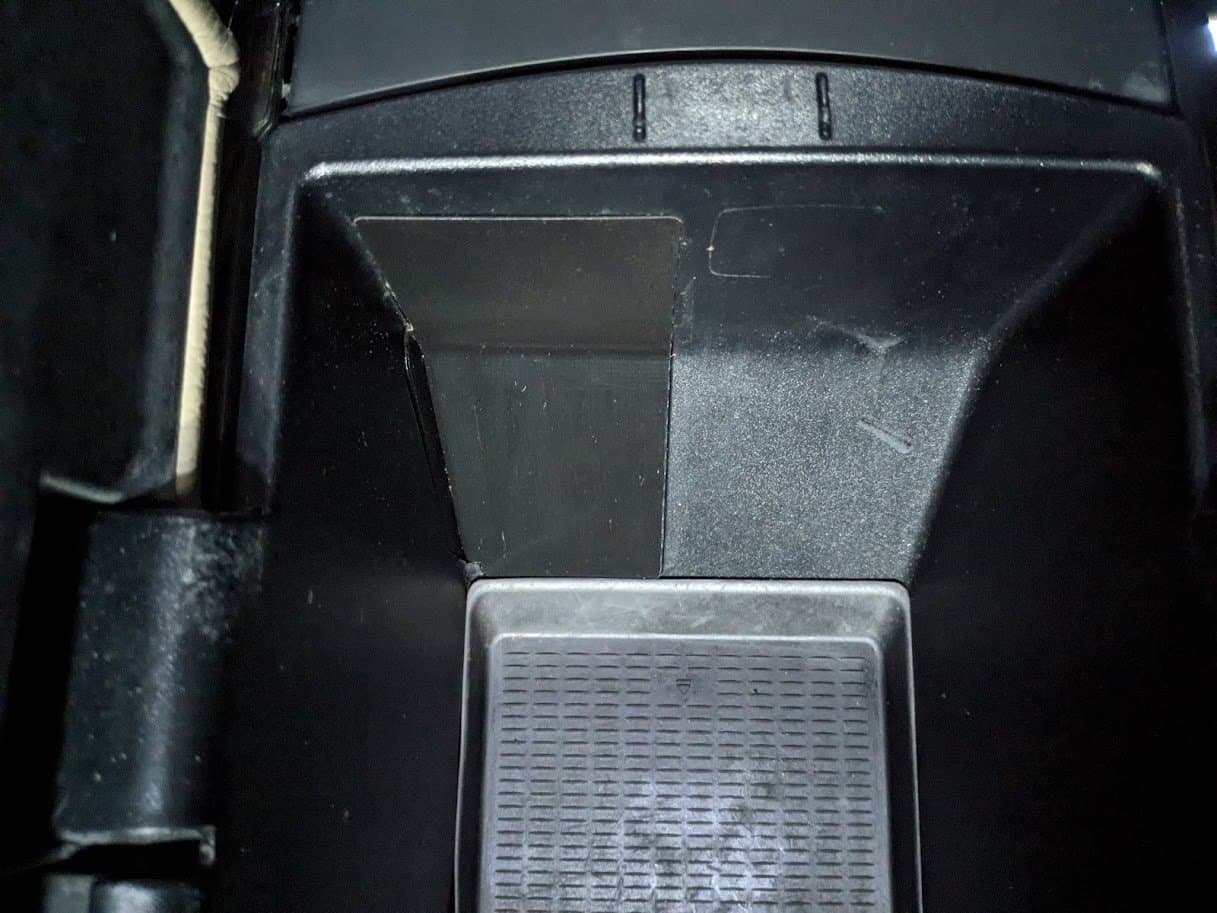
BMW X5 E70 Center Console Blind Plate
BMW
License: CC BY
View & download STL files
