Files (1)
Reference shelf
Recommended filament for this print
Product references matched to the published material guidance. Confirm diameter, heat resistance, colour, and printer compatibility.
| Referenced item | What to verify | Price & availability |
|---|---|---|
| PETG filamentAmazon · Affiliate link | Amazon product page for 1.75 mm PETG; confirm colour, spool size, print temperature, seller, and delivery region. | Check price at Amazon |
| ASA filamentAmazon · Affiliate link | Amazon product page for 1.75 mm ASA; use an enclosure and suitable ventilation, and confirm seller and regional availability. | Check price at Amazon |
Affiliate disclosure: if you buy through an eligible link, 3DPrintedCarPart may earn a commission at no extra cost to you. As an Amazon Associate I earn from qualifying purchases. Confirm product specifications, compatibility, seller terms, and vehicle safety before ordering or using anything. Amazon may redirect you to a nearby supported store; otherwise the original Amazon.com page remains available.
1998 Honda CRV Automatic AWD Passenger Side Transmission Output Shaft Seal Guide
License & use
The file license permits commercial reuse, subject to any applicable attribution or share-alike terms. License status does not verify vehicle fitment, OEM rights, design patents, or safety.
Shared by
Michael Rohan (Midaroh)Description
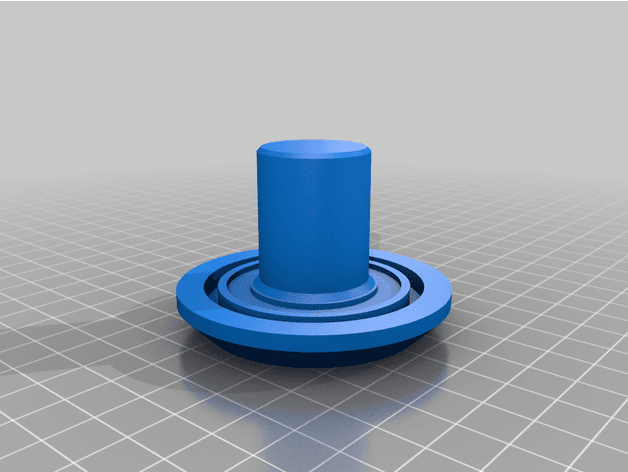
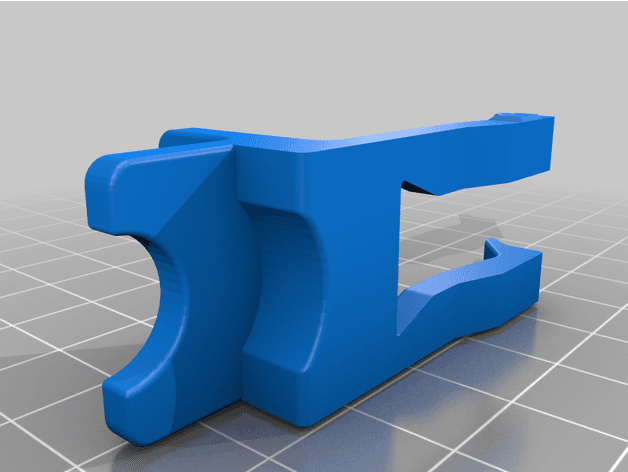
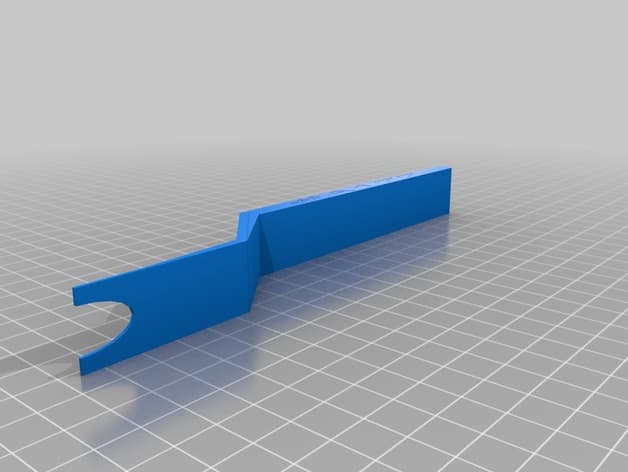
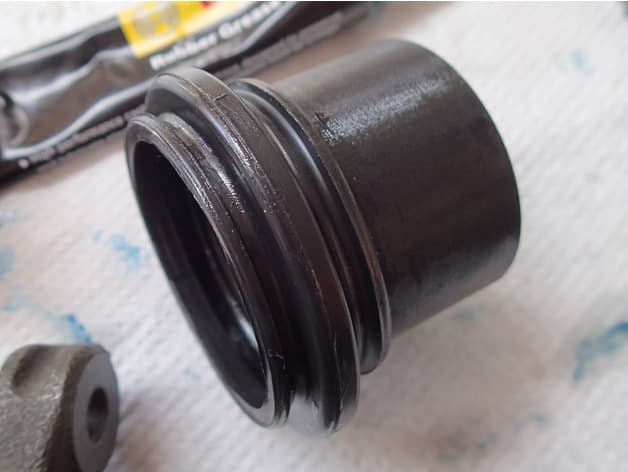
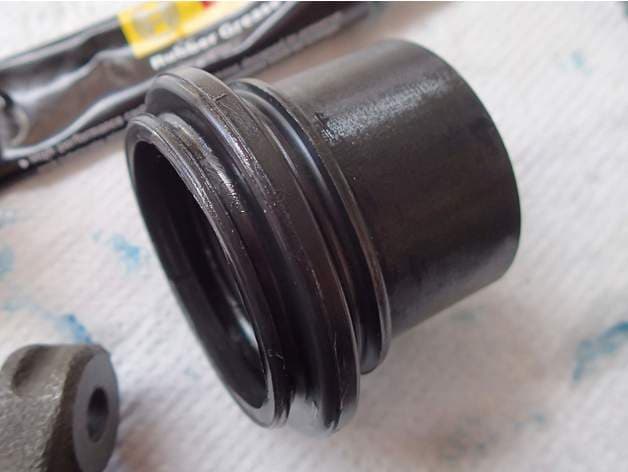
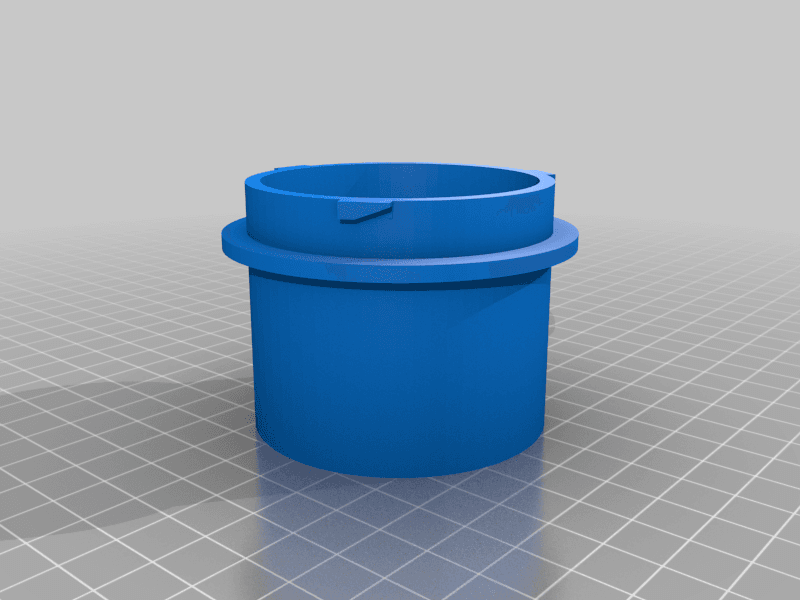
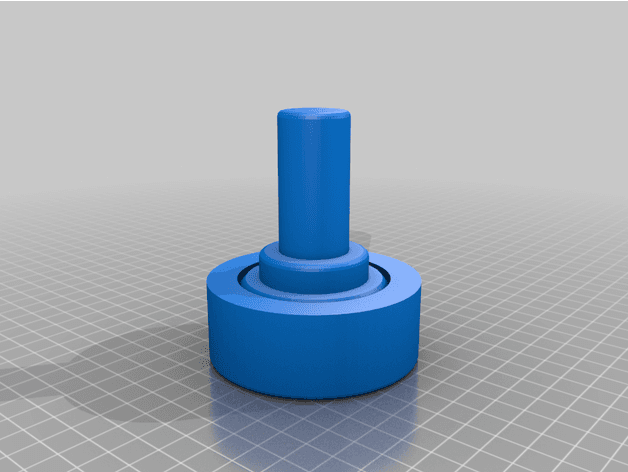
Specific application: 1998 Honda CRV Automatic AWD Passenger Side Transmission Output Shaft Seal Guide. For Honda part number 91206-PC8-005. I had to replace the drive shaft on my 1998 Honda CRV. At the same time I replaced the output shaft seal on the passenger side of the transmission. I decided to make a tool to ensure that the new seal is pressed in squarely. Some people just use a large socket to do this, others are OCD and use a guide. This tool works on Honda part number 91206-PC8-005, which may be used in other models/years. The radius of this guide is 1mm larger than the seal, to allow for for the seat of the guide to stop at the wall of the transmission. My result was adequate with these settings: PLA used 5 line walls 5 layer bottom 30% infill To use it, press your replacement seal all the way down to the seat of the guide, as shown in the photo. You may need to use a putty knife or other narrow blunt tool to carefully fit the seal's rubber flange/dust cover lip into the grooves in the guide. Consider putting a little bit of ATF around the new seal and the opening in the transmission to help the seal press in. Place the seal and guide into the transmission shaft opening, and gently tap the back of the guide with a mallet. Use a piece of wood if you are having trouble directly reaching the seal guide with a hammer tool.
Compatible Vehicles
Originally published on thingiverse.com by Michael Rohan (Midaroh) · License: CC BY
Browse categories
Browse other part families
Jump to interior, exterior, accessories, dashboard, mechanical, or tools hubs when you need a different kind of replacement part.
Share whether this print actually fits a real car. Installed photos and material notes make the catalog more trustworthy.
Ask the community about this part
Start a fitment, printing, or design discussion with this part already attached.
Related Parts
Most specific car + model + year + category matches first, with popular parts mixed in.