Files (2)
Reference shelf
Recommended filament for this print
Product references matched to the published material guidance. Confirm diameter, heat resistance, colour, and printer compatibility.
| Referenced item | What to verify | Price & availability |
|---|---|---|
| PETG filamentAmazon · Affiliate link | Amazon product page for 1.75 mm PETG; confirm colour, spool size, print temperature, seller, and delivery region. | Check price at Amazon |
| ASA filamentAmazon · Affiliate link | Amazon product page for 1.75 mm ASA; use an enclosure and suitable ventilation, and confirm seller and regional availability. | Check price at Amazon |
Affiliate disclosure: if you buy through an eligible link, 3DPrintedCarPart may earn a commission at no extra cost to you. As an Amazon Associate I earn from qualifying purchases. Confirm product specifications, compatibility, seller terms, and vehicle safety before ordering or using anything. Amazon may redirect you to a nearby supported store; otherwise the original Amazon.com page remains available.
AL Priority Sensor Mounts for BMW M3 M4 F80 F82 F83
License & use
The file license permits commercial reuse, subject to any applicable attribution or share-alike terms. License status does not verify vehicle fitment, OEM rights, design patents, or safety.
Shared by
Mike Dio (dio300)Description
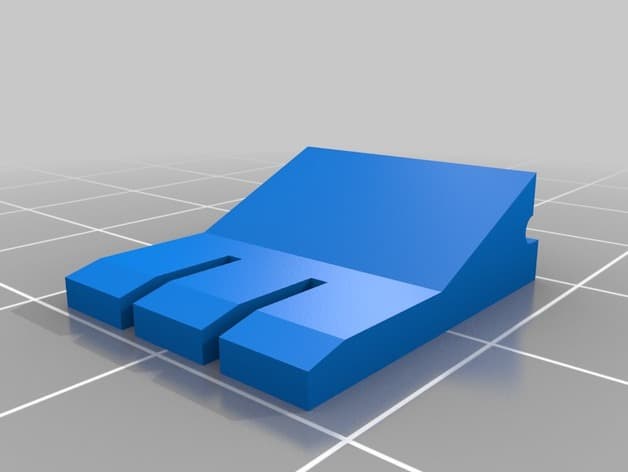
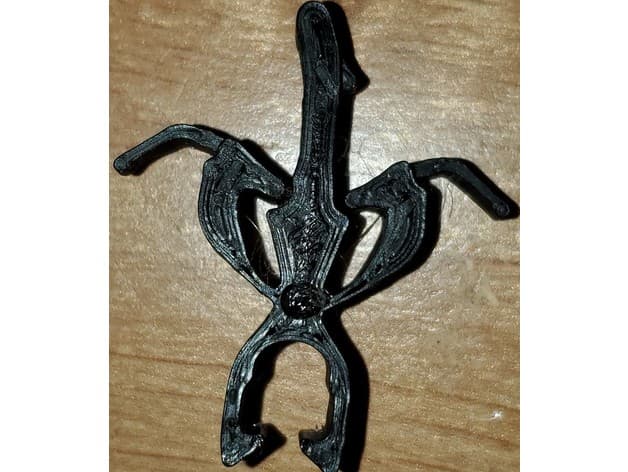
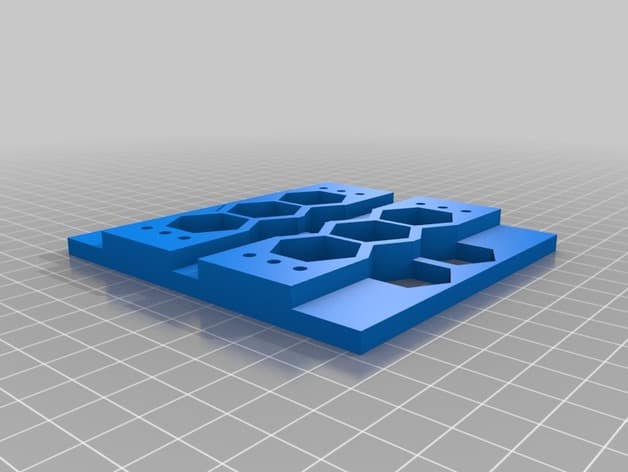
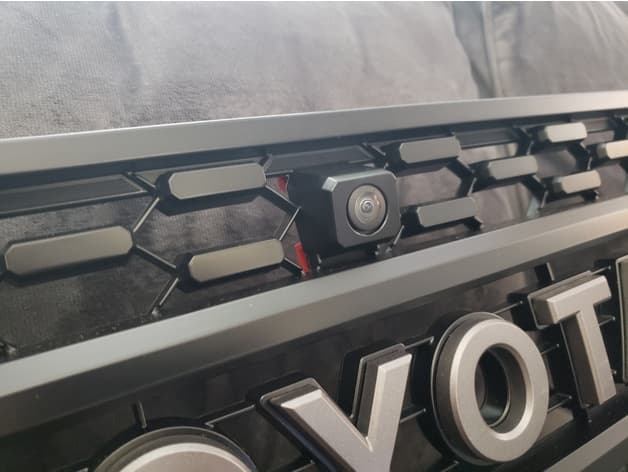
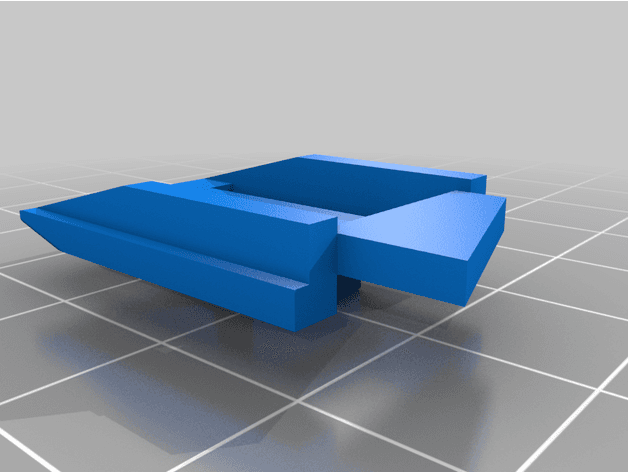
Didn't like the mounting hardware that comes with the AL Priority so I prototyped ones tailored specifically for the BMW F8X front grills. Being mission critical parts (especially for south of the border drives) I opted to have Shapeways print them for me in industrial strength MJF Plastic PA12 Glass Beads material for the added peace of mind. Removal of the grill is recommended, but not required. TX Sensor Installation: 1. Using a small amount of epoxy putty (J-B WELD Waterweld etc.), insert and position the mount inbetween the grill fins from behind as pictured. Use the bubble level keychain provided with your ALP kit to ensure its leveled. The mount should fit snuggly between the fins. 2. Once the putty is cured and mount positioned, apply 2-part high strength epoxy (J-B WELD Original etc.) 3. Apply some silicone sealant to the inside-bottom of the mount and press fit the TX Sensor head into mount. (do not use epoxy as it may damage the enclosure and will be hard to remove/reposition if needed) 4. While silicone is curing, Position/level the TX Sensor head seated in the mount. It should be snug enough so it wont move out of place as it cures. RX Sensors Installation: 1. Mount in the outer most vents (as i did pictured) or 2nd to outer most vents. The outer most vents is a tight fit and tricky to position so i used 3M VHB adhesive tape instead to avoid any mishaps. 2. Use bubble level to position RX Sensor heads. The RX mounts are slightly more oversized to allow for better positioning so shims may be needed. 3. Apply VHB tape to the flat on the RX mount, or if using epoxy apply to the grill fin being mounted.
Compatible Vehicles
Originally published on thingiverse.com by Mike Dio (dio300) · License: CC BY
Browse categories
Browse other part families
Jump to interior, exterior, accessories, dashboard, mechanical, or tools hubs when you need a different kind of replacement part.
Share whether this print actually fits a real car. Installed photos and material notes make the catalog more trustworthy.
Ask the community about this part
Start a fitment, printing, or design discussion with this part already attached.
Related Parts
Most specific car + model + year + category matches first, with popular parts mixed in.