
Files (2)
Slice the required model files; source file size is not printable volume.
Use the slicer's filament total; STL/3MF byte size is not a cost input.
Slice with the recommended material, infill, orientation, and supports.
| STL file | Role | Source size | ABS / ASA 20% | ABS / ASA 25% | 100% solid | Recommendation |
|---|---|---|---|---|---|---|
| Bracket03.STL | Mount / bracket | 116.3 KB STL | Slice file | Slice file | Slice file | Ensure proper orientation for minimal supports |
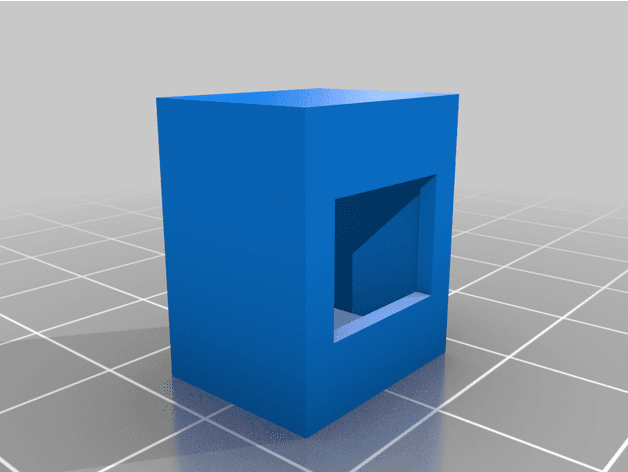
| Clip_1.STL | Clip | 2.4 KB STL | Slice file | Slice file | Slice file | Small functional file: print slowly; consider 80–100% infill for durability. |
Saved setup guidance is used for material, infill, support, and per-file recommendation text; editable numbers are planning estimates only.
FRS, BRZ, GT86 3rd Brake Light Lowering Kit

Shared by
3DPrintedCarPartDescription
This is a bracket that replaces the 3rd Brake Light standoff in the BRZ, FRS, GT86. The 3rd brake light is obstructive, and makes driving in traffic more difficult than it needs to be. There are other kits on the market, ranging from $50 - $100 and their price point makes up for the material cost required, but I figured there was a simpler and cheaper way. I used a assortment of automotive clips to attach the bracket to the rear parcel shelf. To install: Remove 3rd brake light. Instructions are online, but pry up from the front of the light, and pull straight forward towards the front of the car. It gets caught for no reason, so be careful, but probably not gentle. Remove rear parcel shelf. There are clips exposed and clips not exposed. You can see clips in my pictures. Drill out rivets using a 3/8" drill bit or similar. You dont have to drill very far, as these rivets are just mashed onto the existing parcel shelf bracket. You will have to drill out all 5. Use some automotive clips from your assortment to replace the two rivets in the rear of the parcel shelf. Print using ABS. You will need 2 clips and 1 bracket. The clips are glued using a 5 minute epoxy to the side opposite of the two circular standoffs. These are glued flush as shown in my pictures. Note: PLA will melt in a car, so use ABS or ASA. You can use nylon or PETG, but I trust ABS and have no issues with printing it. Install the bracket to the 3rd Brake Light. Then mount bracket to the parcel shelf. It may be a good idea to test fit the bracket first using your automotive clip assortment. If you need to change the geometry, I have added the solidworks part file. You will see that I trimmed one clip to keep it from interfering with the brake light housing. Install the parcel shelf back into the car and test it. Make sure you plug in the brake light.
Compatible Cars
Originally published on thingiverse.com by Christian Gotsch (pieindaface) · License: CC BY
Share whether this print actually fits a real car. Installed photos and material notes make the catalog more trustworthy.
Related Parts
Finding specific fitment/category matches first.

