
Files (1)
Slice the required model files; source file size is not printable volume.
Use the slicer's filament total; STL/3MF byte size is not a cost input.
Slice with the recommended material, infill, orientation, and supports.
| STL file | Role | Source size | ASA / PETG 20% | ASA / PETG 100% | 100% solid | Recommendation |
|---|---|---|---|---|---|---|
| Toyota_Brake_Fluid_Reservoir_Cap.stl | Cover / cap | 322.9 KB STL | Slice file | Slice file | Slice file | Use ASA / PETG; check sealing faces and verify in slicer. |
Saved setup guidance is used for material, infill, support, and per-file recommendation text; editable numbers are planning estimates only.
Toyota Brake Fluid Reservoir Cap

Shared by
3DPrintedCarPartDescription
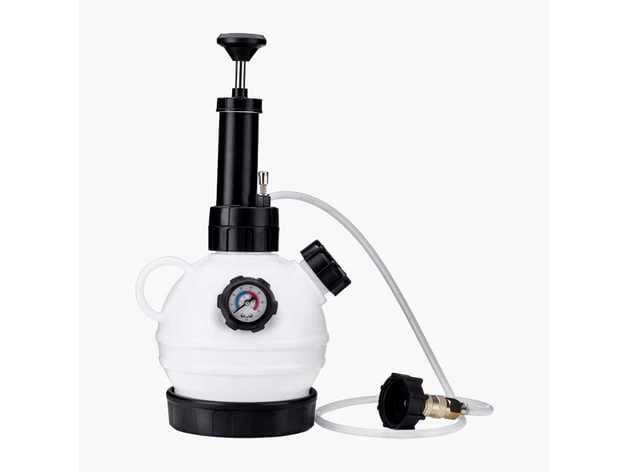
Since the brake fluid changer kit I bought, a very common one on the net, didn't have a cap that fit I made this for my 2021 Toyota GR Yaris, but I'm sure this fits a number of Toyota models. I've printed this with ASA filament which seems to withstand the quite aggressive brake fluid well. If you want to print with another filament type TEST it first so the brake fluid doesn't break down the filament and mixes it with the brake fluid in your car! I suggest you print with 100% infill, mainly to have good margin and be sure you get it fully airtight. You need to make a round 65 mm diameter rubber seal to put in the cap to help the air tight seal of the reservoir. Cut out a 35mm diameter hole in the rubber seals middle. The cap is oversized only to make it easy to cut out this rubber seal with no particular precision, you have quite a lot of margins when cutting it out. I used two M5 x 24 screws plus two nuts to adjust the height, and to get the right pressure from the cap onto the rubber seal. Height obviously depends on how thick your rubber seal is. IMPORTANT: depending on your printer calibration and filament used the two screws can get a weaker hold into the plastic lid cap and be pulled out slightly of the force from the over pressurized reservoir. Please test carefully. If all else fails you can make the holes all the way through the cap and use longer screws and nuts on the other side. To make sure there are no air leaks through these holes you can apply epoxy glue on top of the nuts.
Compatible Cars
Originally published on thingiverse.com by Magnus Thomé (MagnusT) · License: CC BY
Share whether this print actually fits a real car. Installed photos and material notes make the catalog more trustworthy.
Related Parts
Most specific car + model + year + category matches first, with popular parts mixed in.
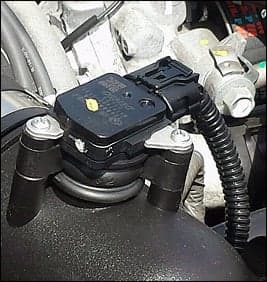
MAF Power spacer
Toyota Camry
License: CC BY
View & download STL files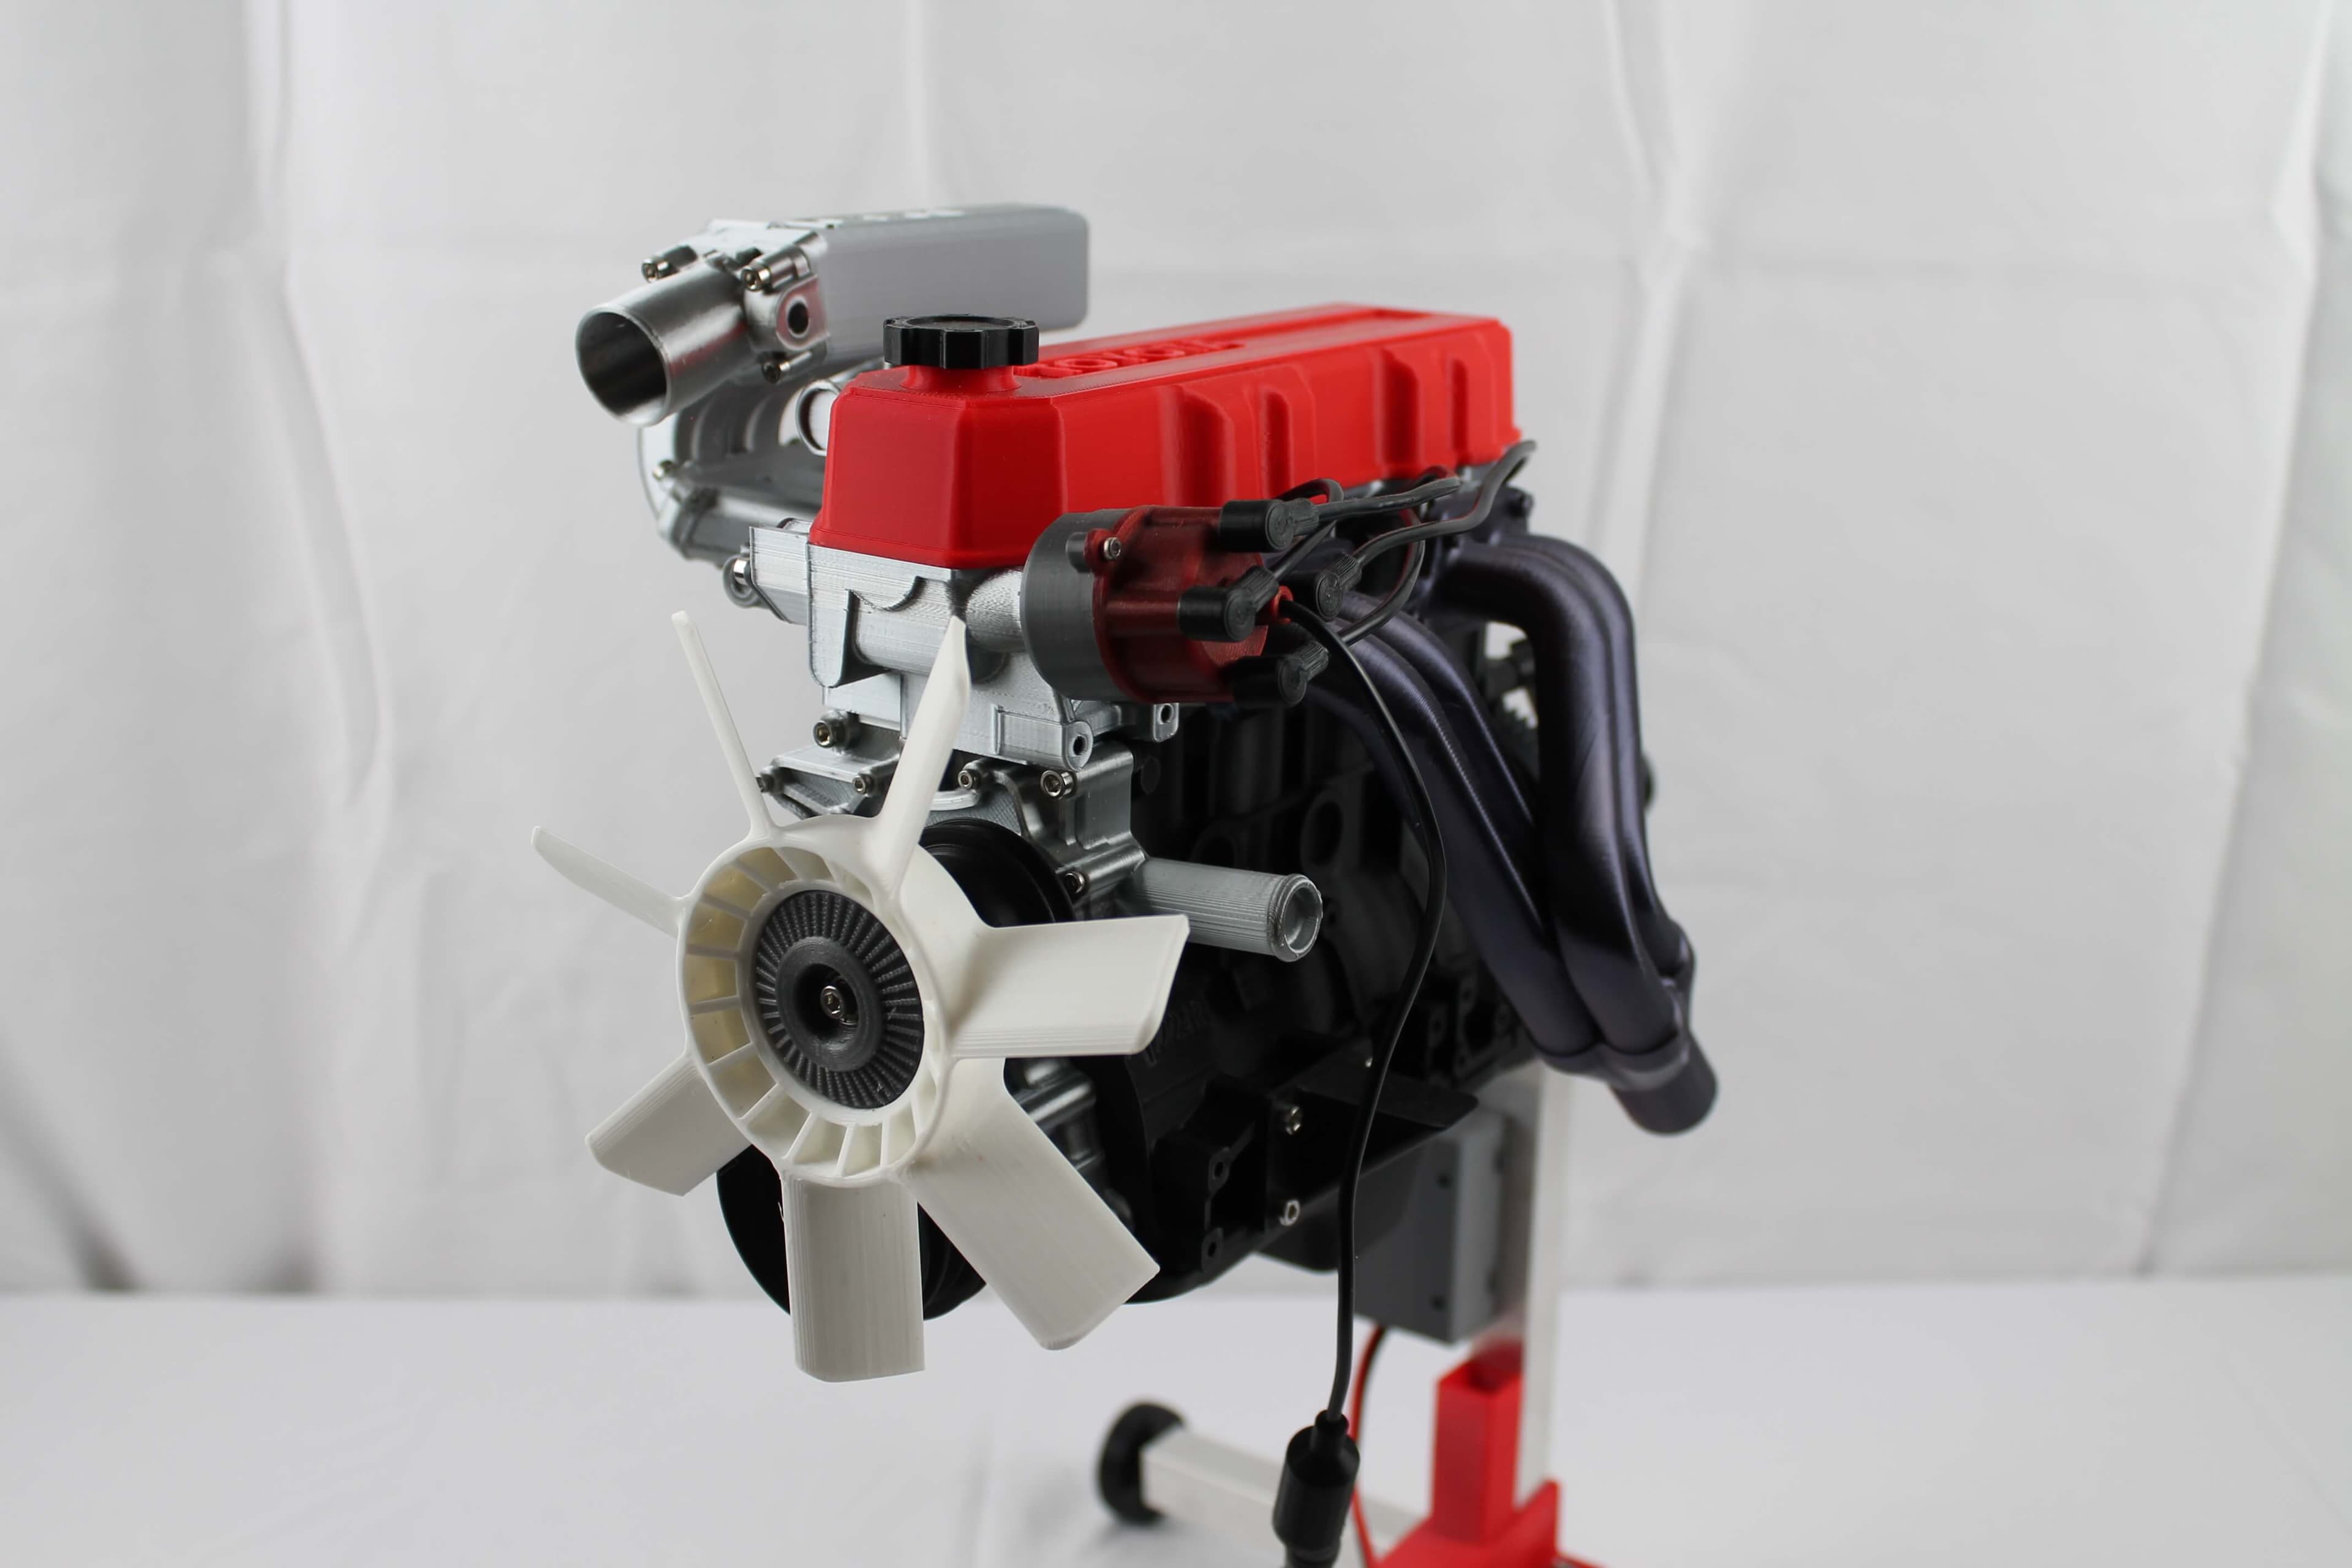
Toyota 4 Cylinder Engine 22RE, Complete working model
Toyota
License: CC BY
View & download STL files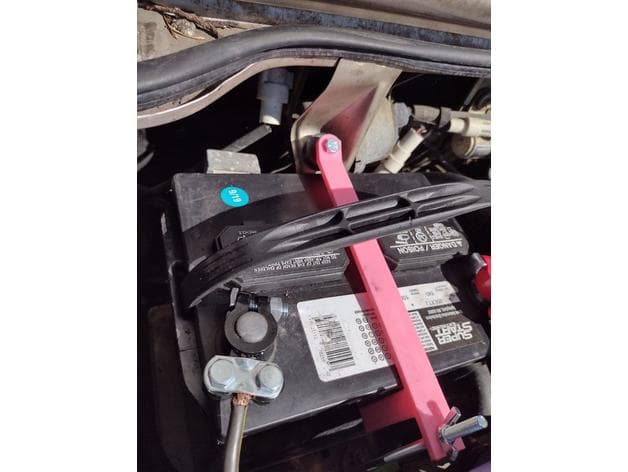
1985 Toyota MR2 AW11 Mk1a Battery Holddown
License: All Rights Reserved
View STL source
Honda and Toyota Brake Pedal Stop Pad - Customizable
Honda, Toyota
License: CC BY
View & download STL files
Thickened Toyota/Lexus 3 Button Remote Key Case/Shell
Toyota, Lexus
License: CC BY-NC-SA
View STL source
BMW X5 E70 Center Console Blind Plate
BMW
License: CC BY
View & download STL files
