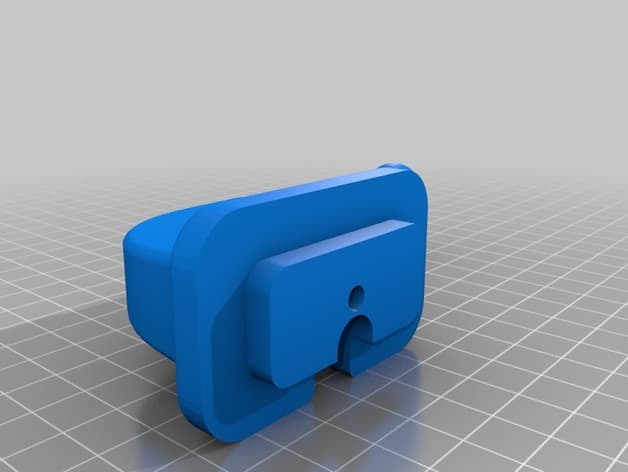
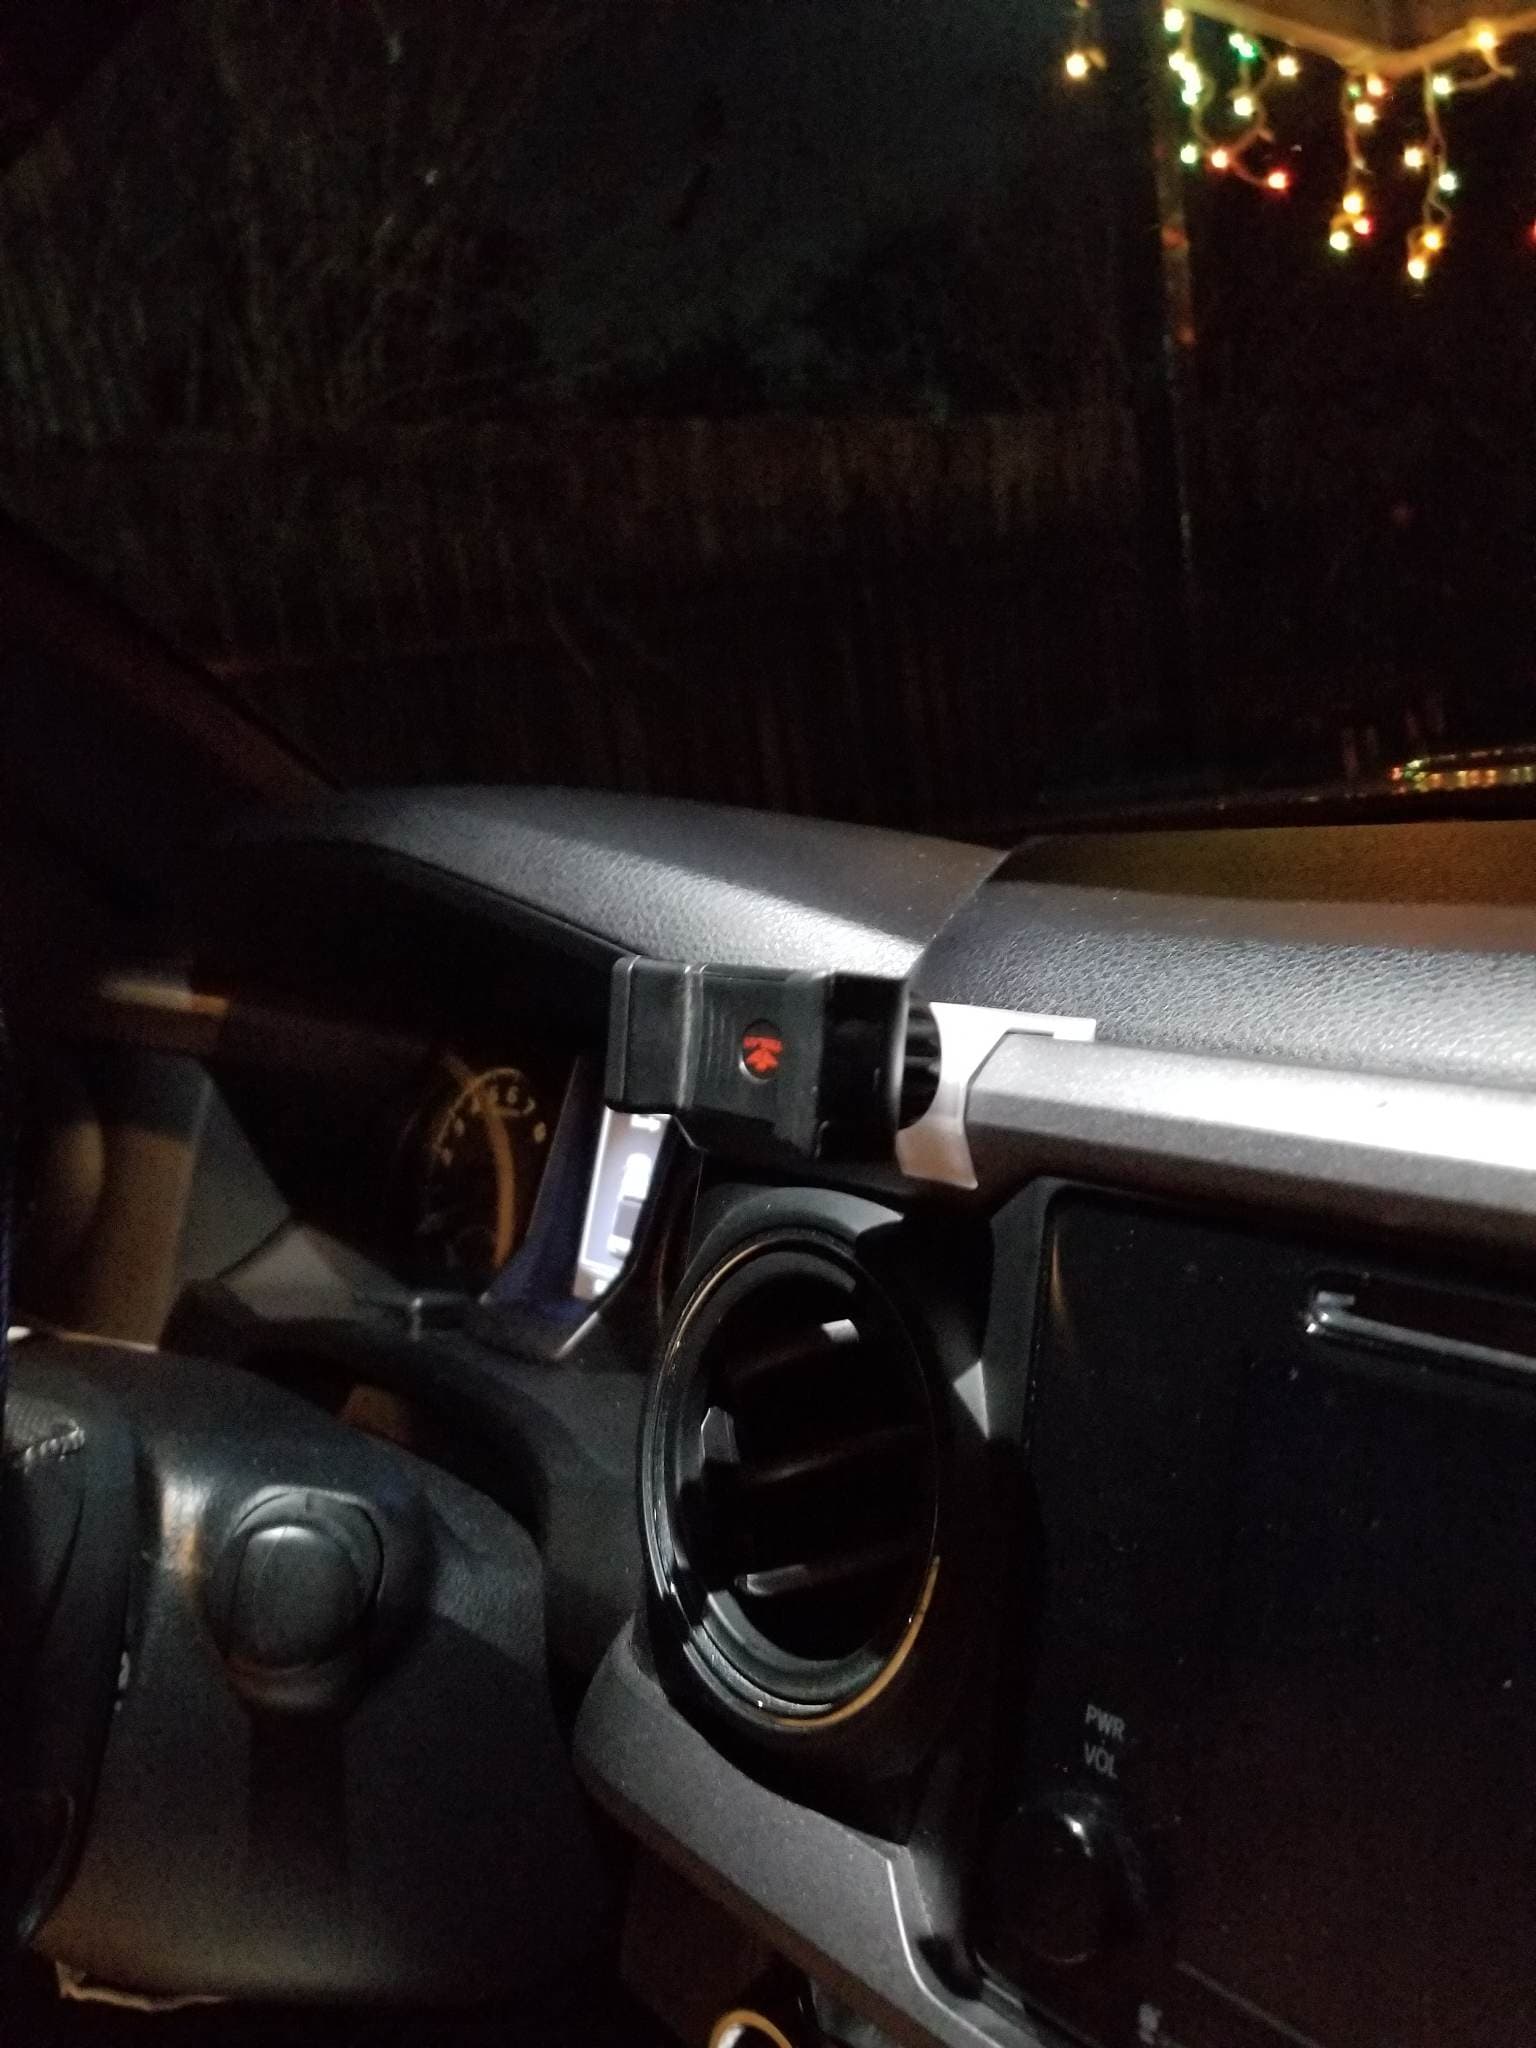
Toyota Highlander wireless charging mount holder
License & use
Files stay with the original publisher; this catalog entry does not grant hosting or resale rights. License status does not verify vehicle fitment, OEM rights, design patents, or safety.
Shared by
Paul Park (hulabaloo)Description
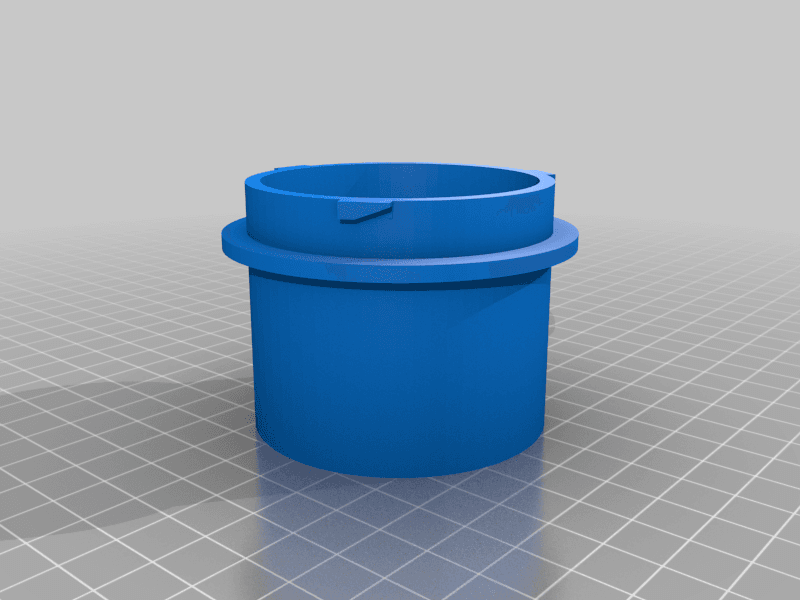
V2 is much improved. Please check my other things. * I would NOT print this in PLA. In the car, it will melt/sag * * You provide the charger * This is made for a 2019 Highlander. 2017-2019 should fit, I don't know about other years. I used carbon fibre PETG from Atomic Filament. 20% infill for the arm, 40% for the rest. You could go as low as 10% and probably still be fine. The 2 discs are washers made of TPU to prevent the arm from spinning. smaller diam one goes above the arm, larger diameter goes below. I glued the 2 screw halves together and then glued that into the knurled handle. You don't have to glue it at all but if you try to remove this they may fall apart as you unscrew it. 1) make sure all USB cover doors are closed so they don't get in the way 2) insert the cable through the bottom piece, then place that below the dash shelf in the highlander and snake the cable up. 3) then insert cable through top piece and rest it on top of the usb hole. 4) put the 2 arm pieces together, use an m3x8 - m3x12 screw to hold them. Glue would work as well so long as it doesn't melt in the car. 5) insert the screw handle up through the bottom and through the hole of the top piece. Place large tpu washer then the arm. 6) then place small tpu washer and screw the thumb nut on. tighten and adjust position of the charger. Good to go! I included a ball end version which I DID NOT TEST. It should be more generic for other chargers. Many parts of this is a remix of different designs including: https://www.thingiverse.com/thing:3106554 https://www.thingiverse.com/thing:2064269 https://www.thingiverse.com/thing:2123529 UPDATE: This is a much higher quality charger. However it is MOTORIZED so the little side arms open and close when you need to insert your phone. I question the longevity. I updated the ball mount for this one. https://www.amazon.com/gp/product/B07MQKBGXG/ref=ppx_yo_dt_b_asin_title_o01_s00?ie=UTF8&psc=1 https://www.amazon.com/gp/product/B07L53SBFJ/ref=ppx_yo_dt_b_asin_title_o00_s00?ie=UTF8&psc=1 This combo I had laying around at first and I tried it but it's cheap feeling. this is the cable I used - it barely fits. https://www.amazon.com/gp/product/B07Q9LJWTL/ref=ppx_yo_dt_b_asin_title_o01_s00?ie=UTF8&psc=1 This is the charger I used: https://www.amazon.com/gp/product/B07FXP58WH/ref=ppx_yo_dt_b_search_asin_title?ie=UTF8&psc=1
Compatible Vehicles
Originally published on thingiverse.com by Paul Park (hulabaloo) · License: CC BY-NC
Browse categories
Browse other part families
Jump to interior, exterior, accessories, dashboard, mechanical, or tools hubs when you need a different kind of replacement part.
Share whether this print actually fits a real car. Installed photos and material notes make the catalog more trustworthy.
Ask the community about this part
Start a fitment, printing, or design discussion with this part already attached.
Related Parts
Most specific car + model + year + category matches first, with popular parts mixed in.