

Files (2)
Choose the needed variant and slice it; source file size is not printable volume.
Use the slicer's filament total; STL/3MF byte size is not a cost input.
Slice with the recommended material, infill, orientation, and supports.
| STL file | Role | Source size | ABS / PETG 20% | ABS / PETG 40% | 100% solid | Recommendation |
|---|---|---|---|---|---|---|
| 1x_4G_Ram_Deep_Dust_Cover.stl | Cover / cap | 92.9 KB STL | Slice file | Slice file | Slice file | Use ABS / PETG; check sealing faces and supports likely, verify in slicer. |
| 2x_4G_Ram_Deep_Dust_Cover.stl | Cover / cap | 185.6 KB STL | Slice file | Slice file | Slice file | Use ABS / PETG; check sealing faces and supports likely, verify in slicer. |
Saved setup guidance is used for material, infill, support, and per-file recommendation text; editable numbers are planning estimates only.
Ram Extended Headlight Dust Covers

Shared by
3DPrintedCarPartDescription
Fitment: 2009-2018 Ram 1500/2500/3500 factory quad headlights (non-projector housing) If you tried to upgrade the factory halogen bulbs to LED's, you probably discovered that the dust cover for the high beams are too shallow to install an LED with a large fan. You are basically left with the following options: 1. Re-install the factory halogen bulbs 2. Install fan-less LEDs (which IMO often have poor light output) 3. Buy that rubber bulb covers that do not fit well, and usually fall off. I designed an tested these extend dust covers which are 1 inch deeper than the factory dust covers. They make use of the factory O-Ring to offer a tight seal to protect against dust and moisture. Why is there a 45 degree notch? Behind the headlight housing, there is a frame pillar which supports the bumper. Without the notch, you would not be able to install the headlight back into position. Printing instructions: Print with ABS or PETG filament. I recommend ABS, as this is the material used in most automotive applications and has a better heat tolerance. The included GCODE file has temp settings of 240/95. Use supports (Regular/Everywhere), mostly for the locking tabs since they are 90 degree overhangs. I do not use supports for anything less than 50 degrees. Installation instructions Remove the factory dust cover by twisting counter clockwise. Remove the O-ring from the factory dust cover and install in on your new dust cover in the provided notch ring. Install the new dust cover with the angled side facing down. Align the provided notches with the tabs inside the headlight port and press the new dust cover all the way in. Once it bottoms out, give it a slight twist to lock it into place. Note: If the O-ring is providing too much resistance, I recommend lubricating the O-ring with some light grease. Avoid oil, as this will make the O-ring swell and lessen it's lifespan. I personally used food based grease, such as Molykote.
Compatible Cars
Originally published on thingiverse.com by Eric Hobensack (hobie2987) · License: CC BY
Share whether this print actually fits a real car. Installed photos and material notes make the catalog more trustworthy.
Related Parts
Most specific car + model + year + category matches first, with popular parts mixed in.
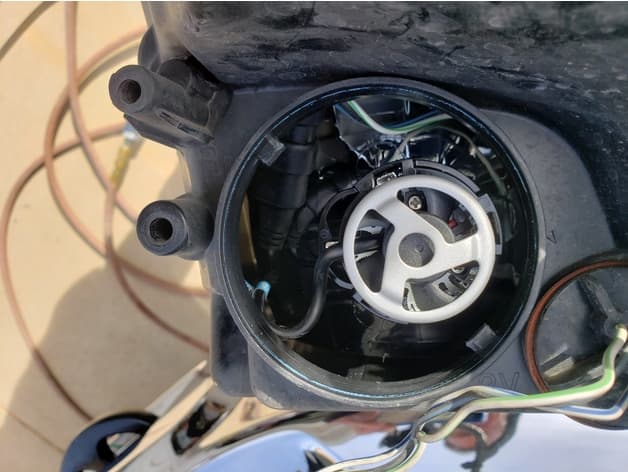
Ram Headlight Housing Plug
RAM
License: CC BY-SA
View & download STL files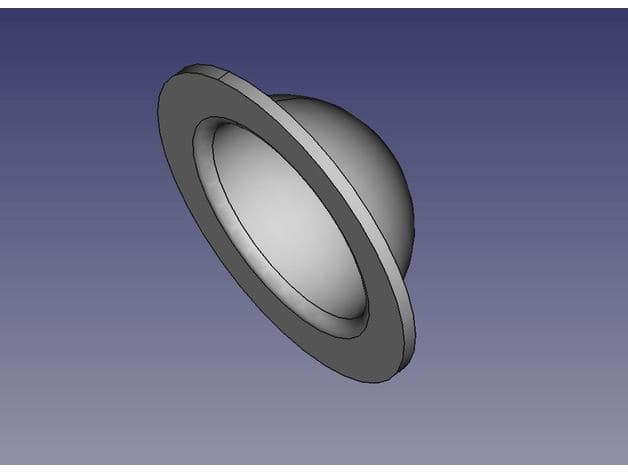
Ram truck 2009-2018 Auto headlamp cover
RAM
License: CC BY
View & download STL files
2005-2006 Honda CR-V Headlight Bulb Bracket / Adaptor
License: CC BY
View & download STL files
Cap for diagnostic connector in the engine compartment. Fits BMW 2002
BMW
License: CC BY
View & download STL files
Subaru headlight washer cover
Subaru
License: CC BY
View & download STL files
BMW X5 E70 Center Console Blind Plate
BMW
License: CC BY
View & download STL files
