Trunk door handle VW Lupo/Polo/Golf.. (0827565)
License & use
Files stay with the original publisher; this catalog entry does not grant hosting or resale rights. License status does not verify vehicle fitment, OEM rights, design patents, or safety.
Shared by
Ya oe (ycxy7490)Description
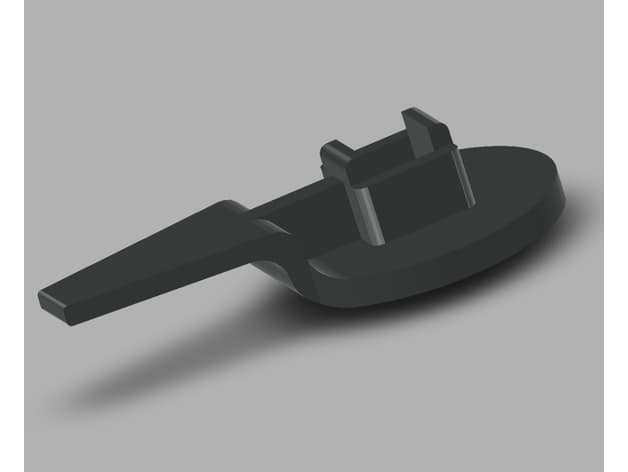
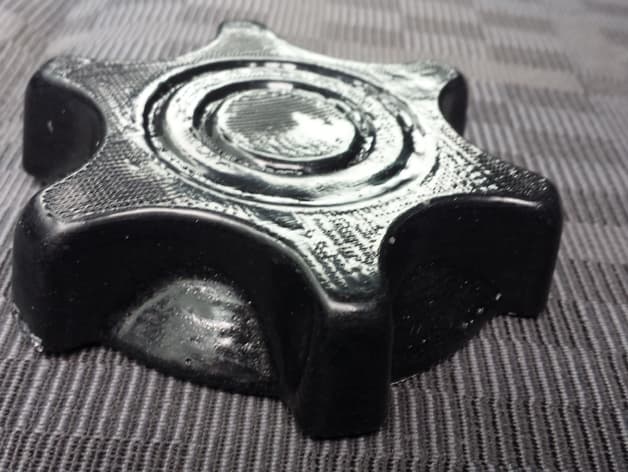
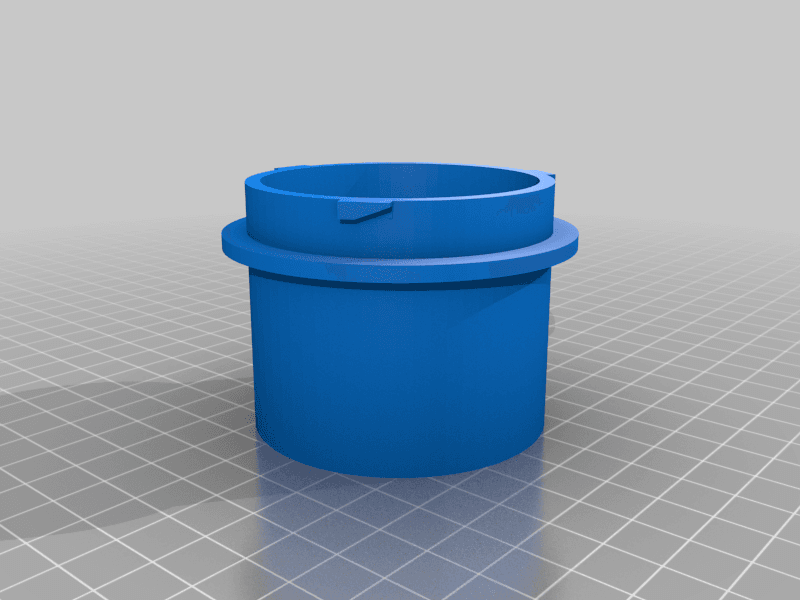
The trunk door handle assembly tends to rot off after the years. You can buy replacements but I decided to print one. I designed this for a VW Lupo (6X) but it should work for Polo 6n(2), Golf IV and more. You should be able to fasten it with the original screws into the plastic. If you think thats not rigid enough you could go for threaded inserts. Requirements: =========== From the original assembly you will need the spring and the rod with its fixation end cap thing and the clip to secure the lock. O ring/seal for the cylinder. You can use the original handle with this (was still in good shape). If the handle is also broken, I designed one as well. WILL PUT LINK HERE LATER. Slicing/printing: =========== It has integrated supports and should work with most printers. Enable thin walls setting (prusa slicer) because some supports are extra thin. If your printer sucks at bridging or if using saggy filament (PETG?) more supports could be necessary. I used PLA but PETG could be a good choice. This should be durable so go for 100% infill or use at least 4 perimeters with 50% infill or sth. Check the slicer for correct bridging orientation (it should bridge across the smaller gap instead of the whole length for example..). Assembly: ======== Remove supports. There are some in the slot for the locking clip as well. Install handle, spring etc. I suggest using some silicon or similiar to create a seal on/around the part where it connects to the car. Insert locking pin before installing the lock cylinder inside the car, this saves you from fiddling around later. Center everything. Fasten screws. Push lock and o ring in while applying counterpressure from the other side. Additional stuff: ============ With the correct settings this should be kind of durable, but of course this is not metal so don't jank on it too much. I have no long term experience with this print yet. Cars are harsh environments and depending on the climate and UV intensity the print could fail sooner or later. Keep that in mind and think about choosing something different than PLA. ==.
Compatible Vehicles
Originally published on thingiverse.com by Ya oe (ycxy7490) · License: CC BY-NC
Browse categories
Browse other part families
Jump to interior, exterior, accessories, dashboard, mechanical, or tools hubs when you need a different kind of replacement part.
Share whether this print actually fits a real car. Installed photos and material notes make the catalog more trustworthy.
Ask the community about this part
Start a fitment, printing, or design discussion with this part already attached.
Related Parts
Most specific car + model + year + category matches first, with popular parts mixed in.