Wireless charging pad for Renault Zoe MY 21.5
License & use
Files stay with the original publisher; this catalog entry does not grant hosting or resale rights. License status does not verify vehicle fitment, OEM rights, design patents, or safety.
Shared by
Neil French (iPeel)Description
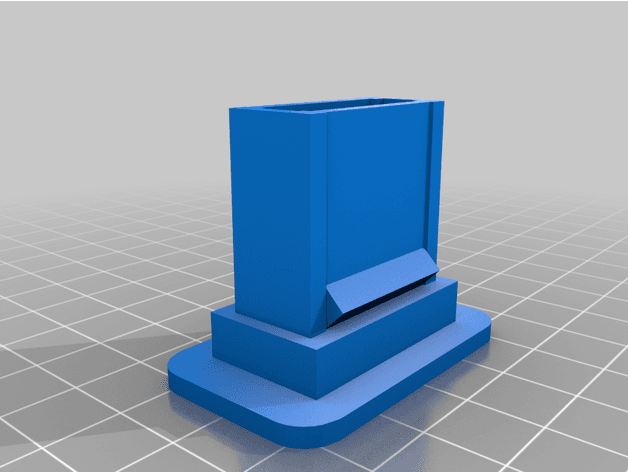
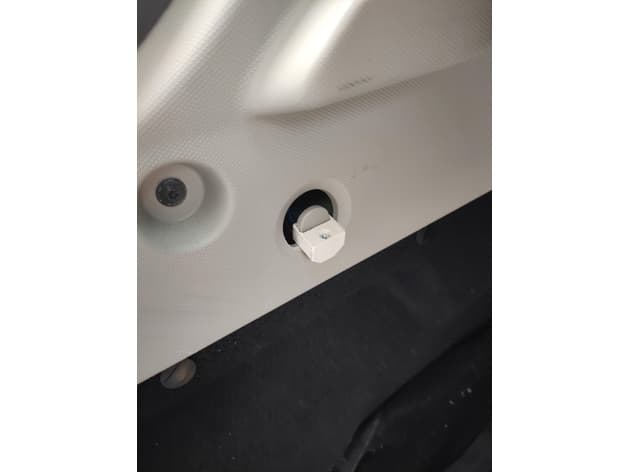
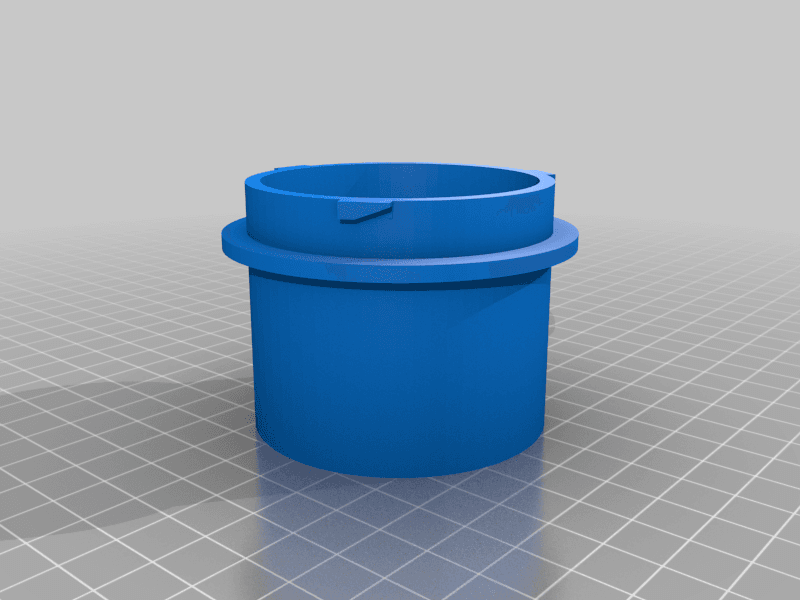
NOTE This thing requires a specific charging pad - the Belkin Boostup in-desk charging pad. Check availability of this before continuing! The Renault Zoe II released for the 2020 model wear came with a wireless charging pad, Renault removed this in Feb 2021 citing global chip shortages. Instead they replaced that area of the car with a little tray, leaving nowhere to place a smartphone flat in the car, let alone provide a convenient means of charging. This thing replaces that tray with a flat pad that charges wirelessly, and better than the one that came in the MY2020. You will require a Belkin Boostup charging pad (hidden installation) model. See https://www.belkin.com/us/chargers/wireless/charging-pads/boost-up-wireless-charging-spot-recessed-hidden-installation/p/p-b2b180/ for more details. This was chosen for good performance, and the fact it can run off 12v so can be wired directly to the Zoe fuse box. The PSU outputs 15v but I have confirmed safe operation on 12v. To remove the existing tray, pull upwards from the front of the tray grabbing the sides, it may help to attach some gaffer tape to the vertical walls and tug on that, with a good pull it will come out without any marks. Then, I wired a piggyback fuse holder from the glove compartment to the centre console and took a ground from the M6 bolt that supports an ECU bracket under the tray. You will need to remove the glove compartment, there are 2 T20 screws at the top, then 2 T20 screws at the side hidden by the flap that faces the door. By removing the expansion gripper from the Boost up and the two lugs held with bolts it should snugly fit flush into this thing, there are four M3 holes for grub screws to hold it in place, or you can use adhesive, there is some wiggle room to allow the pad to be fitted flush to the top plate. I then used some 1.5mm non slip adhesive pad to make a presentable top surface. The whole unit should then locate nicely into the opening and a firm press will clip it in place. If you need to remove the pad, a spudger will tease up the pad and you can then pull it out.
Compatible Vehicles
Originally published on thingiverse.com by Neil French (iPeel) · License: CC BY-NC
Browse categories
Browse other part families
Jump to interior, exterior, accessories, dashboard, mechanical, or tools hubs when you need a different kind of replacement part.
Share whether this print actually fits a real car. Installed photos and material notes make the catalog more trustworthy.
Ask the community about this part
Start a fitment, printing, or design discussion with this part already attached.
Related Parts
Most specific car + model + year + category matches first, with popular parts mixed in.