Files (4)
Reference shelf
Recommended filament for this print
Product references matched to the published material guidance. Confirm diameter, heat resistance, colour, and printer compatibility.
| Referenced item | What to verify | Price & availability |
|---|---|---|
| PETG filamentAmazon · Affiliate link | Amazon product page for 1.75 mm PETG; confirm colour, spool size, print temperature, seller, and delivery region. | Check price at Amazon |
| ASA filamentAmazon · Affiliate link | Amazon product page for 1.75 mm ASA; use an enclosure and suitable ventilation, and confirm seller and regional availability. | Check price at Amazon |
Affiliate disclosure: if you buy through an eligible link, 3DPrintedCarPart may earn a commission at no extra cost to you. As an Amazon Associate I earn from qualifying purchases. Confirm product specifications, compatibility, seller terms, and vehicle safety before ordering or using anything. Amazon may redirect you to a nearby supported store; otherwise the original Amazon.com page remains available.
Customizable Oil Filter Cap Wrench with 14 flutes for Toyota V1.1
License & use
The file license permits commercial reuse, subject to any applicable attribution or share-alike terms. License status does not verify vehicle fitment, OEM rights, design patents, or safety.
Shared by
John Cuzzourt (Broken3ways)Description
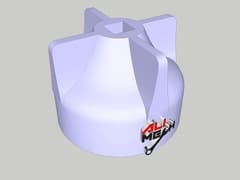
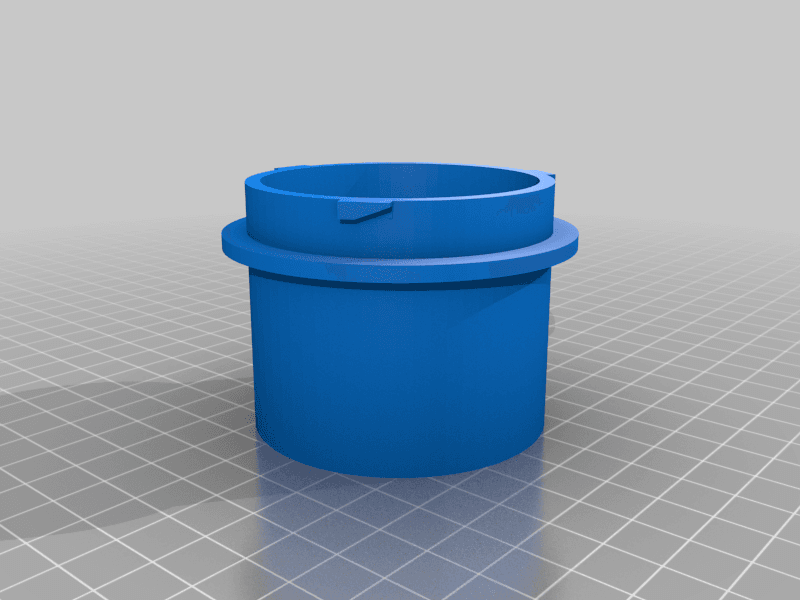
V1.1 Released This remix is intended to produce a completely usable and reliable cap wrench for removing spin-on oil filters. (currently limiting to 65mm or 74mm 14-fluted variety.) 65mm fits my Prius 74mm fits my RAV4 & Sienna Thanks to tonycstech for his original design. It, and the discussion about it, gave me lots to begin with and think about! If you need different sizes, go see my other version of this. I've added a couple of section slices so you can see the internal geometry, as well as a photo of a Cura preview showing the internal wall structures. These structures are crucial to making the grips and the nut strong enough to not just snap right off in use. If printed as designed, these are very tough, even in PLA. Currently I recommend slicing with Cura engine rather than Slic3r. I don't know slic3r well yet, but it seems to recombine my separate meshes and so they get printed with infill instead of the strengthening walls I designed in. (If you know where to adjust the tolerance in Slic3r for combining meshes, please leave me a message or comment.) Update Cinco de Mayo 2019 V1.1 Made the square drive optional for nut sizes 15mm and greater. Added a 76mm filter option, as well as several smaller nut drive sizes. Removed the use line which was no longer needed. Update 5/4/2019 V1.0 Rewrote the grips() routine for a little better clarity. No longer dependent on MCAD library I've uploaded 4 models, 6519,6521,7419, and 7421. 65 or 74 indicates the diameter. 19 or 21 indicates the size of the metric nut on top. These models have a clearance of 1.0mm across the flats for the filter. This should usually allow for variances in how much printers "close up" the hole. I highly recommend that you print just the first few layers and then check the dimensions carefully to be sure it will fit. Use the Customizer or OpenSCAD to adjust the size if needed. The model structures are pretty clean now, but check your slicer settings/preview carefully. You'll want 2-3 lines for the walls for strength. I like a quarter-cubic infill. I'm printing at 0.15 layer height now. There's a minor anomaly when I slice the model that I don't get a top and bottom surface like I intended between the top of the wrench and the bottom of the struts. I believe this is just a setting in Cura that I haven't set correctly yet. Update 5/3/2019 V0.7 Corrected a bug in V0.6 which introduced a 1mm offset between triangle strut and top of wrench. * V0.6 - I cleaned up the interior bottom surface, but also introduced a bug. superceeded by V0.7 I believe it to be AOK now, but I haven't printed it yet myself. * Update 5/2/2019 V 0.5 Finally, I'm releasing it and calling it good enough to try using. Please comment with any questions or problems or suggestions! Some minor cosmetic blemishes remain, but this should be good enough to use. I recommend using the customizer and going to the 21 mm nut if you have a 21mm six point socket and think you might use it. Personally, I would avoid using the 3/8" square drive hole, but try it and let me know how it works for you. I recommend you first print just about the first 3-4 layers and verify that the size is right before printing the whole thing. Peel it up and try it on a new filter. Then adjust the "Clearance across flats" to make it bigger or smaller in "Customizer." Also, let me know if you have other sizes that you'd like to be able to generate in customizer. If you're familiar with OpenSCAD you can easily adjust the parameters yourself, but I'd be happy to make Customizer work. Thanks for looking, and enjoy! I had fun making this. * Update 5/2/2019 V 04. I've roughed in the structural supports. It should be *MUCH* stronger now! The code is ugly, but I think it is producing a good part now. I'm printing a 74 to test as I write. If you print it, you will see the hex nut and the finger grips extend through the cap and have walls internally. There are 10 meshes in these STLs. Go ahead and separate shells in MeshMixer or Meshlab to examine the structure. I look forward to any comments on this design method. Update 5/1/2019 I'm a newbie to 3D printing. While this is almost how I want it, it has some structural weaknesses. I have recently developed what I think is a good technique for adding internal structure to the model that will significantly improve its strength. So, just fair warning, I don't think this is ready for use yet, but pretty soon I intend to add the strengthening technique that will make this truly useful, even in PLA. **
Compatible Vehicles
Originally published on thingiverse.com by John Cuzzourt (Broken3ways) · License: CC BY
Browse categories
Browse other part families
Jump to interior, exterior, accessories, dashboard, mechanical, or tools hubs when you need a different kind of replacement part.
Share whether this print actually fits a real car. Installed photos and material notes make the catalog more trustworthy.
Ask the community about this part
Start a fitment, printing, or design discussion with this part already attached.
Related Parts
Most specific car + model + year + category matches first, with popular parts mixed in.