

Slice the required model files; source file size is not printable volume.
Use the slicer's filament total; STL/3MF byte size is not a cost input.
Slice with the recommended material, infill, orientation, and supports.
| STL file | Role | Source size | ABS / ASA 20% | ABS / ASA 25% | 100% solid | Recommendation |
|---|---|---|---|---|---|---|
| No printable model files are available for an estimate yet. | ||||||
Saved setup guidance is used for material, infill, support, and per-file recommendation text; editable numbers are planning estimates only.
SAAB NG9-3 MAF Adapter for 3" (76mm) tube

Shared by
3DPrintedCarPartDescription
SAAB NG9-3 MAF Adapter for 3" (76mm) tube This 3D make is a MAF sensor adapter for SAAB NG9-3 (with B207 engine) when replacing the original MAF tube using an alloy tube having diameter of 3" (76mm). This design does not contain instructions for complete 3" intake system, only attaching the MAF adapter into MAF tube. MAF adapter is designed to be "print friendly" and therefore no support structure is needed when printed. Accessories needed (besides the 3" alloy tube meeting your reqs.) * "Stepper" drill bit capable of 32mm hole * Elastic adhesive (with strong bondage, like "Casco Marin&Teknik", "SikaFlex") to attach adapter to tube * 2 x M4 Nyloc nuts * 2 x M4 Screws (length 10mm or 12mm) Instructions * Print the body of adapter (MAF76.stl) using ABS filament: when slicing, turn the object "upside down" to avoid need for support structure * Print the washers (WASHERS.stl) using ABS filament * "Weld" the washers (using acetone) on the top of the MAF adapter body as illustrated in the image * Attach the nyloc nuts in to MAF adapter body as illustrated in the image. NOTE the direction. Hint: if the nut cannot be pushed into hole, use a screw (from the top side) to pull nut gently into its place. * Use a stepper drill bit to drill a hole of diameter of 32mm to your alloy tube (NOTE: the tube in photo is only for illustrating purposes, the actual tube needed is much longer) * Attach the MAF adapter permanently on the top of the alloy tube as illustrated in the image using Elastic adhesive of your choice. The shape of the bottom in adapter should guide the adapter into right angle when put on the top of the tube. NOTE the direction of airflow as adapter is assymmetric * When adhesive is totally cured, attach the MAF sensor into adapter using M4x10mm or M4x12mm screws.
Compatible Cars
Originally published on thingiverse.com by Tommi Wiksten (TommysDesign) · License: CC BY-NC
Share whether this print actually fits a real car. Installed photos and material notes make the catalog more trustworthy.
Related Parts
Most specific car + model + year + category matches first, with popular parts mixed in.
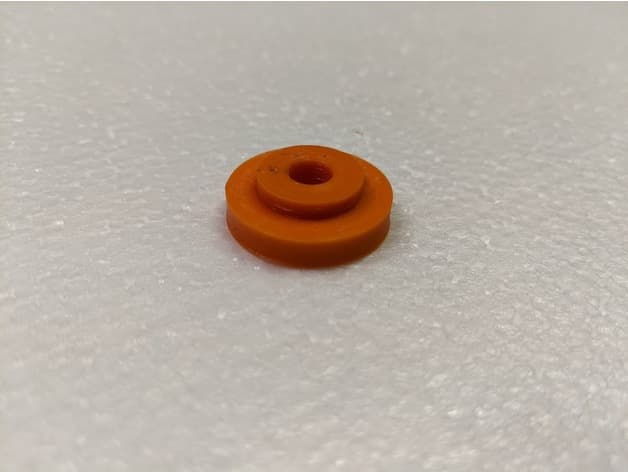
Saab 9-3 Shifter Bushing
License: CC BY
View & download STL files
Cone air filter holder Saab 93 NG
License: CC BY
View & download STL files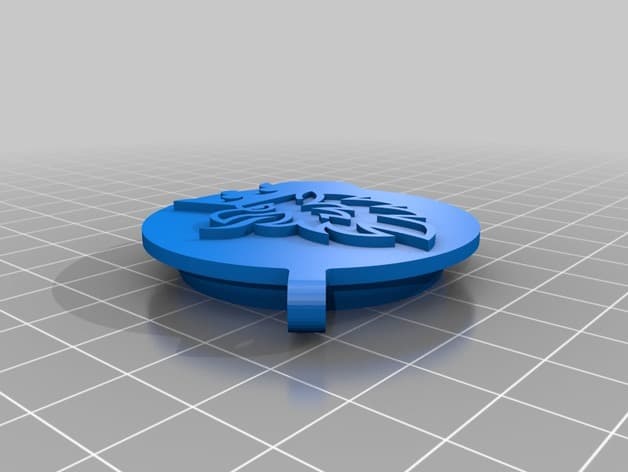
SAAB 9-3 Washer Fluid Reservoir Cap
License: CC BY
View & download STL files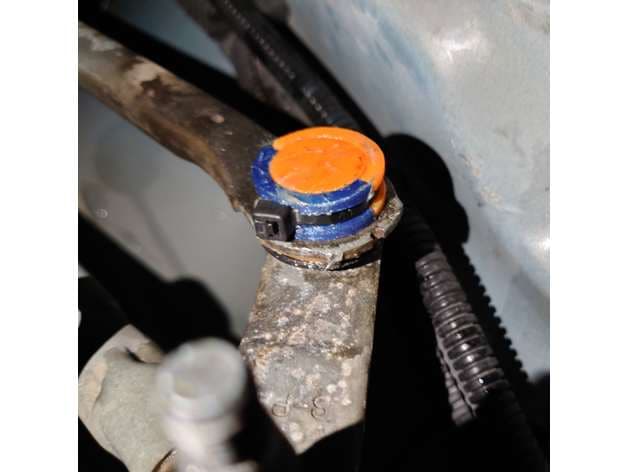
Saab 9-3 / Opel insignia / Cadillac wiper arm bushing replacement
Cadillac
License: CC BY
View & download STL files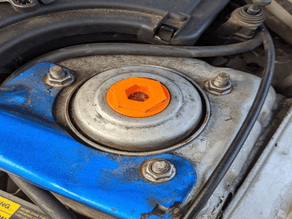
Saab OG 9-3 Strut top bushing
License: CC BY-NC-SA
View STL source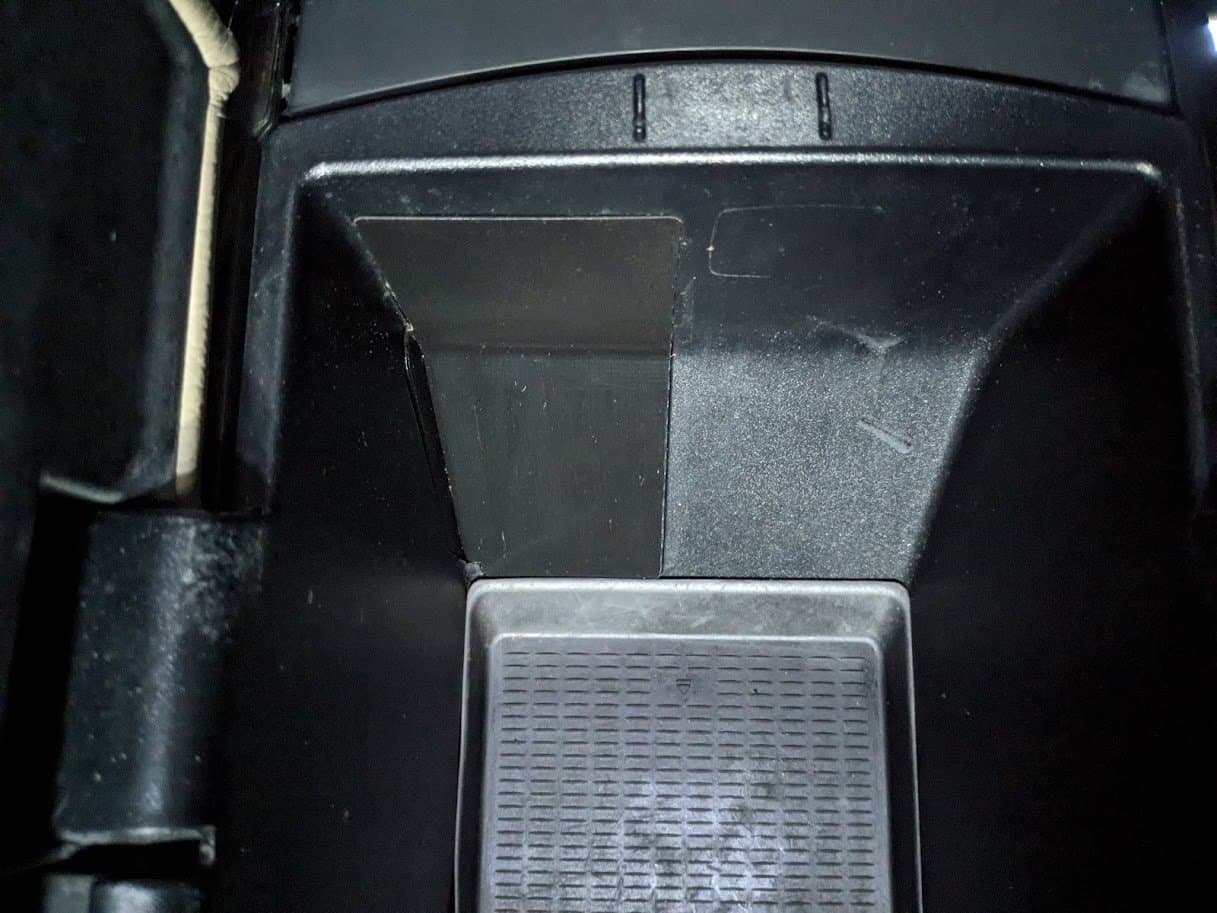
BMW X5 E70 Center Console Blind Plate
BMW
License: CC BY
View & download STL files
